When the default gateway on a subnet dies, every host on it loses the path off the LAN until someone swaps hardware or reconfigures. HSRP removes that single point of failure by putting two or more routers behind one virtual gateway address. Hosts point at the virtual address, one router answers for it, and if that router fails a second one takes over in seconds without the hosts noticing.
HSRP (Hot Standby Router Protocol) is Cisco’s own First Hop Redundancy Protocol (FHRP). This guide explains how it elects an active router, configures it on two routers sharing a virtual gateway, verifies the roles, and then fails it over for real by shutting the active router’s interface. The configuration below was built and failed over on two Cisco IOS 15.2 routers in a GNS3 lab in June 2026; the same commands run unchanged in Packet Tracer and on real hardware.
How HSRP works
Routers in the same HSRP group share one virtual IP address and one virtual MAC address. Hosts use the virtual IP as their default gateway and never know which physical router is actually forwarding. One router is elected Active and forwards traffic sent to the virtual address; another sits Standby, listening for the Active router’s hello messages. If those hellos stop, the Standby promotes itself to Active and starts answering for the virtual address, usually within about ten seconds on the default timers.
The election is decided by priority. The highest priority wins; the default is 100, and a tie breaks on the highest interface IP address. By itself, a higher priority does not reclaim the Active role from a router that already holds it, so you add preempt to let the higher-priority router take over when it comes back. The Active router also owns the virtual MAC, which is how a failover is invisible to hosts: the new Active answers ARP for the same virtual MAC, so the hosts’ ARP caches never have to change.
HSRP version 1 vs version 2
IOS runs HSRP version 1 by default. Version 2 is worth enabling on any new deployment because it supports far more groups and millisecond timers. The differences that matter:
| Property | HSRP version 1 | HSRP version 2 |
|---|---|---|
| Group numbers | 0 to 255 | 0 to 4095 |
| Multicast address | 224.0.0.2 | 224.0.0.102 |
| Virtual MAC range | 0000.0c07.acXX | 0000.0c9f.fXXX |
| Hello/hold timers | Seconds only | Milliseconds supported |
| IPv6 support | No | Yes |
The two versions do not interoperate on the same group, so every router in a group must run the same version. The lab below uses version 2.
Paste-ready R1 and R2 HSRP configs, the topology, the failover drill, and load steps for GNS3, Packet Tracer, and real gear, free on GitHub.
Get the configs on GitHubConfigure HSRP on two routers
The topology is two routers on one LAN segment through a switch, both with an interface in 192.168.10.0/24, sharing the virtual gateway 192.168.10.254. R1 gets a higher priority so it becomes Active; R2 stays Standby and takes over if R1 fails.
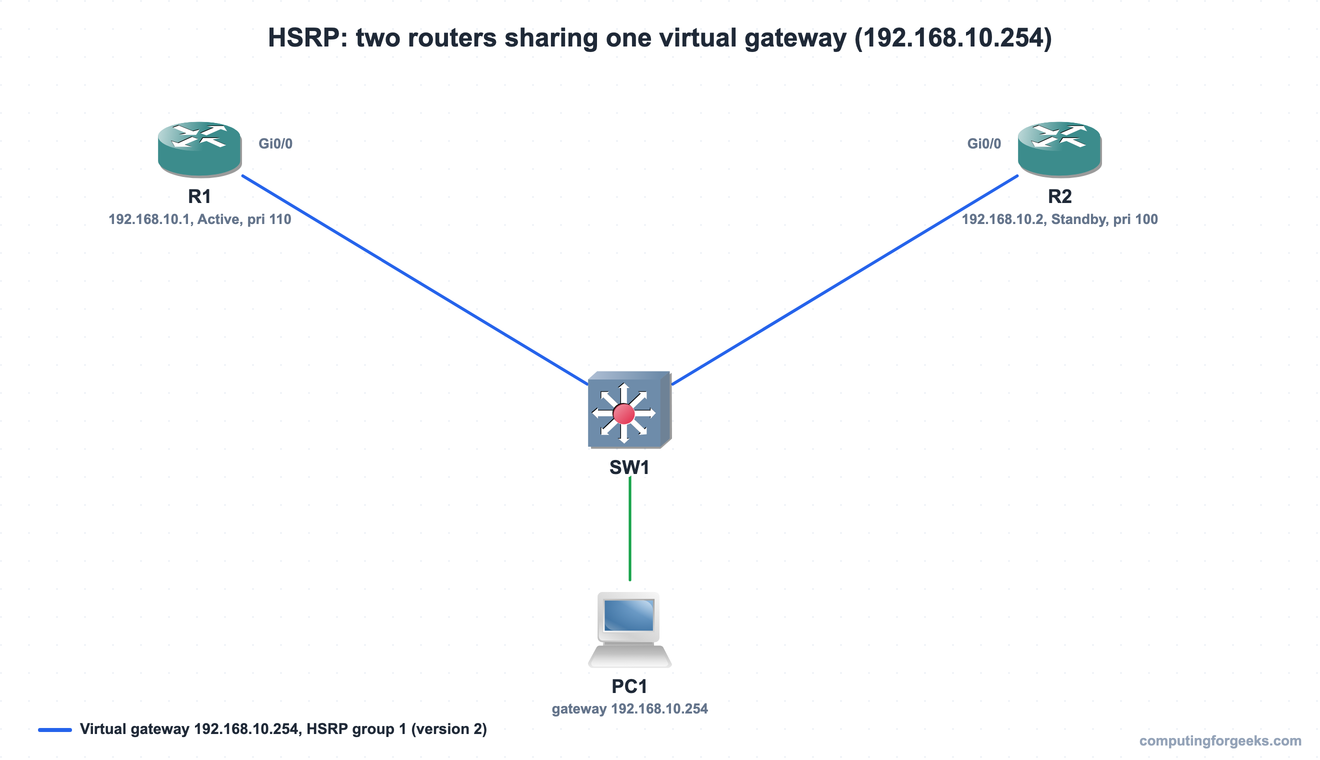
Every command below was captured on real Cisco IOS in GNS3: two c7200 routers (R1, R2) and an IOSvL2 switch (SW1) on the management segment. Here is the lab on the GNS3 canvas:
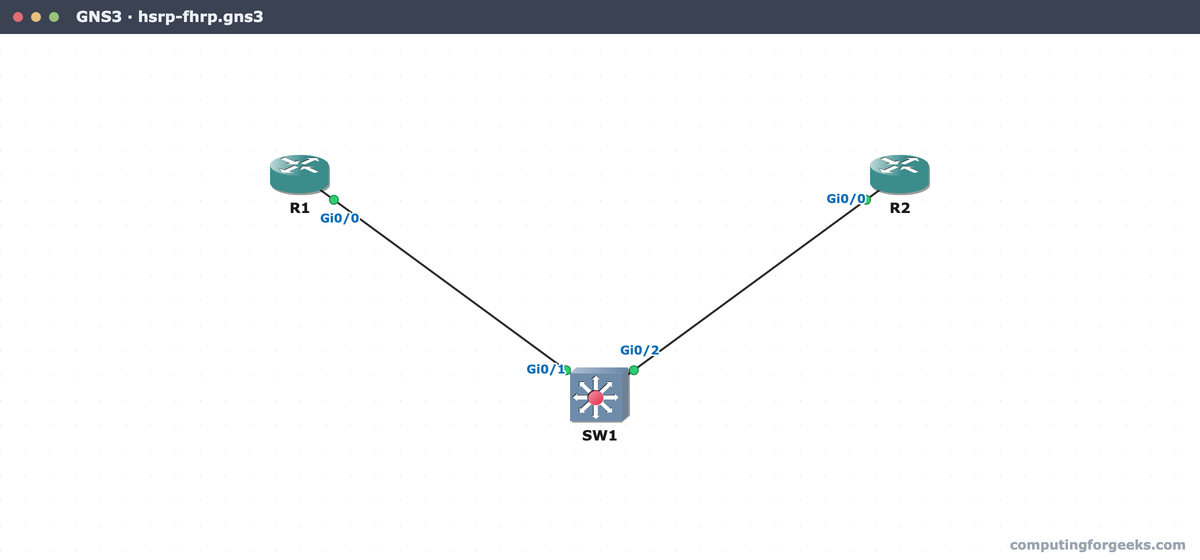
Configure R1 with the higher priority and preempt so it holds the Active role:
configure terminal
interface GigabitEthernet0/0
 ip address 192.168.10.1 255.255.255.0
 standby version 2
 standby 1 ip 192.168.10.254
 standby 1 priority 110
 standby 1 preempt
 no shutdown
 exit
R2 is identical except for its own interface address and the default priority of 100, which leaves it Standby:
configure terminal
interface GigabitEthernet0/0
 ip address 192.168.10.2 255.255.255.0
 standby version 2
 standby 1 ip 192.168.10.254
 standby 1 priority 100
 standby 1 preempt
 no shutdown
 exit
The standby 1 prefix is the group number; both routers must use the same group. Hosts on this subnet then use 192.168.10.254 as their default gateway, not either router’s real address. Both routers should carry the usual baseline first: the base device configuration and SSH access guides cover the hostname, secrets, and remote login that belong on every device.
Verify the active and standby roles
On R1, show standby lays out the full picture: the group state, the virtual IP, the virtual MAC, the local priority, and who the Active and Standby routers are:
show standbyR1 reports itself Active, owns the virtual address, and lists R2 as the Standby peer:
GigabitEthernet0/0 - Group 1 (version 2)
  State is Active
    2 state changes, last state change 00:02:54
  Virtual IP address is 192.168.10.254
  Active virtual MAC address is 0000.0c9f.f001 (MAC In Use)
    Local virtual MAC address is 0000.0c9f.f001 (v2 default)
  Hello time 3 sec, hold time 10 sec
    Next hello sent in 2.800 secs
  Preemption enabled
  Active router is local
  Standby router is 192.168.10.2, priority 100 (expires in 8.032 sec)
  Priority 110 (configured 110)
  Group name is "hsrp-Gi0/0-1" (default)
For a one-line-per-group summary across many interfaces, show standby brief is faster to read. Run it on both routers:
! show standby brief on R1
Interface   Grp  Pri P State   Active          Standby         Virtual IP
Gi0/0       1    110 P Active  local           192.168.10.2    192.168.10.254

! show standby brief on R2
Interface   Grp  Pri P State   Active          Standby         Virtual IP
Gi0/0       1    100 P Standby 192.168.10.1    local           192.168.10.254
The P in the state column is preempt, the priority is the number beside it, and the active and standby addresses confirm which router holds each role.
Test failover
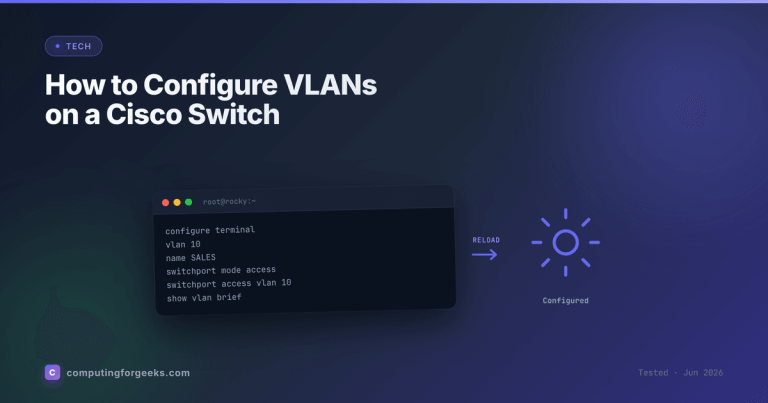
Configuration that is never failed over is a guess. Force it: on R1 (the Active router), shut the interface and watch R2 take the Active role.
configure terminal
interface GigabitEthernet0/0
 shutdown
Within about ten seconds R2’s hellos from R1 stop arriving, it promotes itself, and show standby brief on R2 now shows it as Active for the virtual address:
R2# show standby brief
Interface   Grp  Pri P State   Active          Standby         Virtual IP
Gi0/0       1    100 P Active  local           unknown         192.168.10.254
The whole sequence, captured end to end on the lab, looks like this: R1 active, the interface shut, R2 taking over, then R1 preempting back when it returns.
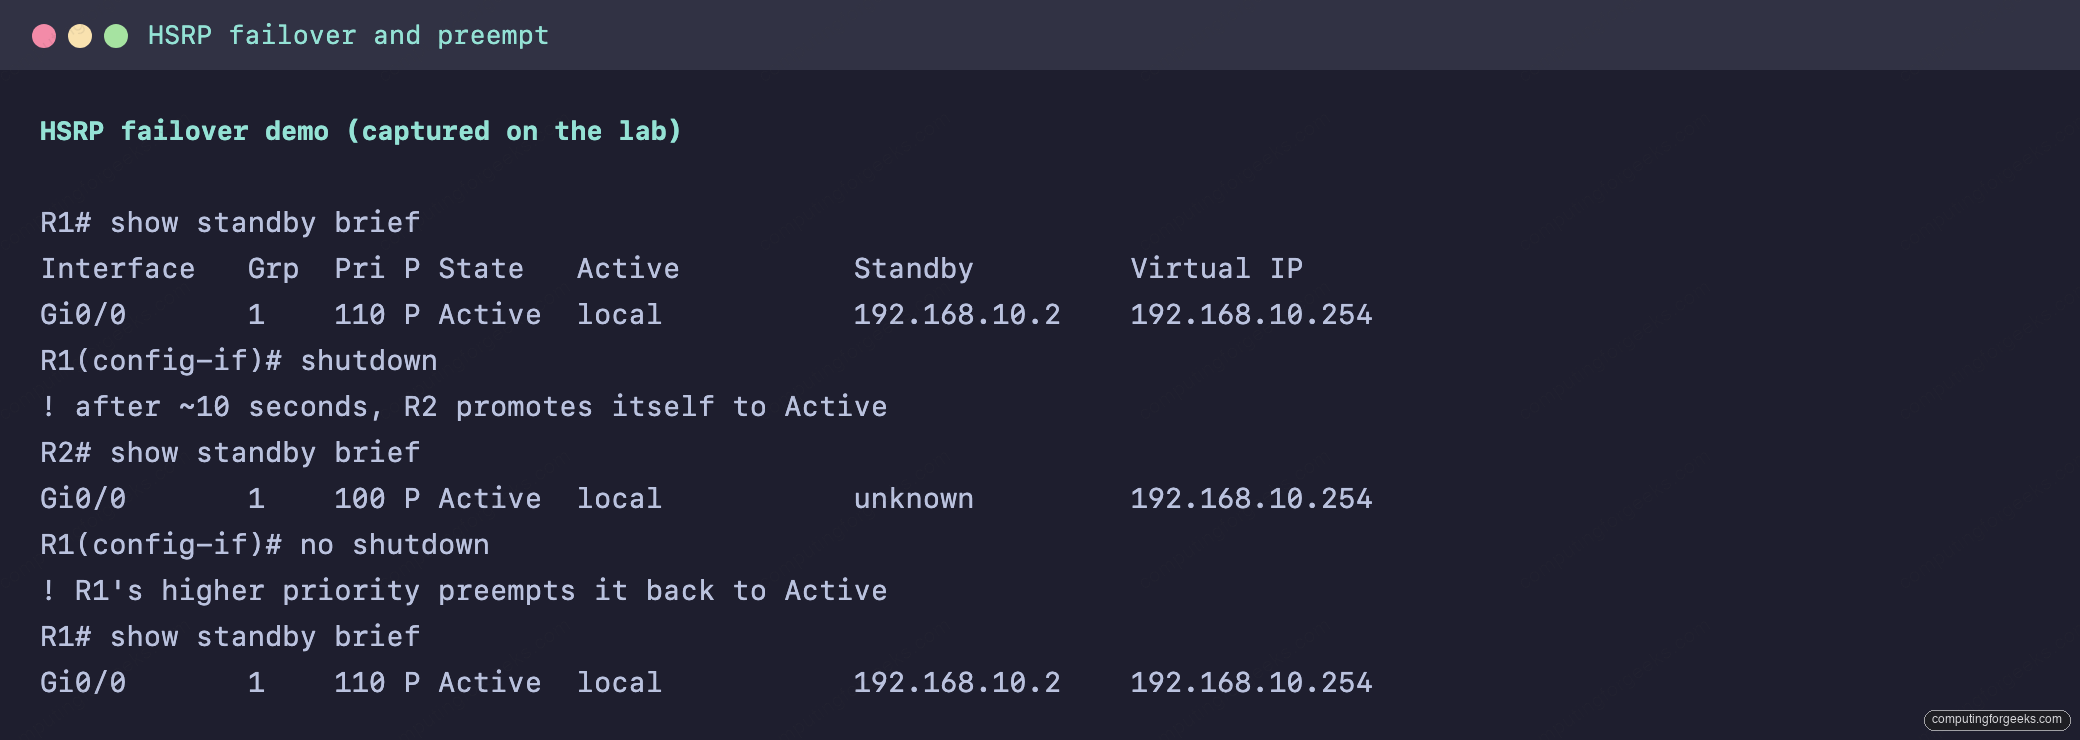
Bring R1 back with no shutdown and, because both routers have preempt, R1’s higher priority reclaims the Active role as soon as its interface comes up. Without preempt, R1 would come back as Standby and leave R2 active, which is a common surprise in production.
Commit the HSRP priorities, timers, and verification commands to memory. Flip the cards, then grab the Anki deck.
HSRP in production
A few settings turn this lab into something safe to run. Preemption is off by default, which is why the lab enabled it explicitly so the higher-priority router reclaims the Active role. Beyond that, track the upstream interface so the Active router steps down when its path to the rest of the network fails, not only when its own LAN interface goes down. Current IOS does this with an Enhanced Object Tracking object:
track 100 interface GigabitEthernet0/1 line-protocol
interface GigabitEthernet0/0
 standby 1 track 100 decrement 20
If that uplink loses line protocol, R1’s priority drops by 20 to 90, below R2’s 100, and R2 takes over even though R1’s LAN interface is still up. Add a preempt delay so a router that just rebooted does not grab the Active role before its routing table is populated: standby 1 preempt delay minimum 60. On a current network, weigh HSRP against VRRP, the open-standard equivalent, if you run mixed-vendor gear, since HSRP is Cisco only. HSRP sits in the first-hop-redundancy corner of the CCNA 200-301 study guide; pair it with solid IP routing and a working DNS setup and the LAN keeps resolving and forwarding even when a gateway fails.