

GNS3 is an open source network emulator used by hundreds of thousands of network engineers to design, configure, test, and troubleshoot virtual and real networks. This guide walks you through installing GNS3 on Fedora 44, 43, and 42, including the local server, dynamips, VPCS, uBridge, KVM/QEMU, Wireshark, and Docker container support.
Every command in this article was run end-to-end on freshly provisioned Fedora 44 (kernel 7.0.8), Fedora 43 (kernel 6.17.1), and Fedora 42 (kernel 6.14.0) cloud VMs. The version numbers, screenshots, and ping output below come from real installs, not illustrative examples.
Fedora now ships gns3-gui and gns3-server 2.2.59 in the official updates repository, so the long list of manual Python and PyQt steps from older Fedora 28/29-era guides is no longer needed. Only dynamips and VPCS still have to be built from source.
Before you begin
A Fedora Workstation, Server, or cloud install of release 44, 43, or 42 with sudo access. GNS3 itself is light, but QEMU appliances and Docker containers can be heavy. Plan for at least 4 vCPU, 6 GB RAM, and 30 GB disk if you intend to run real network appliances.
If you are running Fedora inside another hypervisor (Proxmox, ESXi, VMware Workstation, KVM) and you plan to boot QEMU images from GNS3, enable nested virtualization on the host first. Without it QEMU appliances will boot but run unusably slowly.
What ships in each Fedora release
The packages and versions installed by this guide, captured on 2026-05-26 from the active fedora and updates repositories:
| Component | Fedora 42 | Fedora 43 | Fedora 44 |
|---|---|---|---|
gns3-gui | 2.2.59 (updates) | 2.2.59 (updates) | 2.2.59 (updates) |
gns3-server | 2.2.59 (updates) | 2.2.59 (updates) | 2.2.59 (updates) |
ubridge | 0.9.19 (fedora) | 0.9.19 (fedora) | 0.9.19 (fedora) |
wireshark | 4.6.4 (updates) | 4.6.4 (updates) | 4.6.4 (fedora) |
qemu-kvm | 9.2.4 | 10.1.5 | 10.2.2 |
| Python | 3.13.13 | 3.14.4 | 3.14.4 |
| Qt bindings | python3-pyqt6 | python3-pyqt6 | python3-pyqt6 |
dynamips | build from source | build from source | build from source |
| VPCS | build from source | build from source | build from source |
GNS3 2.2.x on Fedora now pulls python3-pyqt6 automatically as a dependency. The old python3-PyQt4 package referenced by many older guides is obsolete and was removed from Fedora 44 entirely, so do not install it.
Step 1: Update the system
Refresh metadata and pull every available update before touching anything else. This avoids the classic GPG verification error a few minutes into the GNS3 install on stale cloud images:
sudo dnf upgrade --refresh -yIf a new kernel landed, reboot before continuing so KVM and uBridge link against the running kernel modules:
sudo systemctl rebootFamiliarity with the new package manager helps too. The DNF5 cheatsheet for Fedora 44 / 43 / 42 covers the syntax differences from older yum/dnf.
Step 2: Install GNS3 GUI, server, and supporting packages
A single dnf install brings in the GUI, the local server, uBridge, Wireshark, QEMU/KVM, virt-install, plus the build tools needed for dynamips and VPCS in the next two steps:
sudo dnf install -y \
    gns3-gui gns3-server ubridge \
    wireshark wireshark-cli \
    qemu-kvm libvirt virt-install \
    xterm telnet \
    git gcc make cmake flex bison \
    elfutils-libelf-devel libuuid-devel libpcap-devel
Confirm the GUI and server are on PATH and report version 2.2.59:
gns3 --version
gns3server --version
Both commands should return:
2.2.59Signature verification failed during dnf install
Some older cloud images miss the active Fedora GPG keys and dnf5 may abort mid-transaction with Signature verification failed. Reinstall the key package and import the current key for this release, then re-run the failing dnf install:
sudo dnf -y reinstall fedora-gpg-keys
sudo rpm --import /etc/pki/rpm-gpg/RPM-GPG-KEY-fedora-$(rpm -E %fedora)-$(uname -m)
Step 3: Build and install dynamips
Dynamips is the Cisco IOS emulator GNS3 uses for the classic 7200, 3600, 3700, 2600, and 1700 series routers. It is not packaged for Fedora, so build it from the GNS3 fork on GitHub:
cd /tmp
git clone --depth=1 https://github.com/GNS3/dynamips.git
cd dynamips && mkdir build && cd build
cmake .. -DDYNAMIPS_CODE=stable
make -j"$(nproc)"
sudo make install
Confirm dynamips is on PATH:
dynamipsWith no arguments the binary prints its banner. You should see the version and build:
Cisco Router Simulation Platform (version 0.2.24-amd64/Linux stable)
Copyright (c) 2005-2011 Christophe Fillot.
Step 4: Build and install VPCS
VPCS (Virtual PC Simulator) is the lightweight host/PC node every basic GNS3 topology uses. Like dynamips, it is not packaged for Fedora:
cd /tmp
git clone --depth=1 https://github.com/GNS3/vpcs.git
cd vpcs/src
./mk.sh 64
sudo install -m 0755 vpcs /usr/local/bin/
Check the version to confirm the binary works:
vpcs -vThe banner names version 0.8.3 and the project credits:
Welcome to Virtual PC Simulator, version 0.8.3Step 5: Grant uBridge network capabilities and join supporting groups
Fedora’s ubridge package ships the binary without the setuid bit or any file capabilities, so unprivileged users cannot open raw sockets. GNS3 will fail to start uBridge tunnels with Permission denied. Unlike the Ubuntu GNS3 PPA, the Fedora package also does not create a ubridge group, so the usual usermod -aG ubridge trick fails with group ubridge does not exist. The clean fix is to grant the two Linux capabilities the binary actually needs:
sudo setcap cap_net_admin,cap_net_raw=ep /usr/bin/ubridgeVerify the capabilities stuck to the binary:
getcap /usr/bin/ubridgeExpected output, showing both raw socket and net admin caps as effective and permitted:
/usr/bin/ubridge cap_net_admin,cap_net_raw=epAdd your user to the Wireshark, libvirt, and kvm groups so packet capture and KVM launching work without sudo:
sudo usermod -aG wireshark,libvirt,kvm "$USER"
sudo systemctl enable --now libvirtd
Log out and log back in (or reboot) so the new group memberships take effect.
Step 6: Install Docker for container nodes (optional)
GNS3 can attach Docker containers as topology nodes. Install Docker Engine from Docker official repo, since Podman (which Fedora ships by default) is not supported as a GNS3 container backend. The dedicated Install Docker on Fedora guide covers this in depth; the short version is:
sudo dnf -y install dnf-plugins-core
sudo dnf config-manager addrepo --from-repofile=https://download.docker.com/linux/fedora/docker-ce.repo
sudo dnf -y install docker-ce docker-ce-cli containerd.io \
    docker-buildx-plugin docker-compose-plugin
sudo systemctl enable --now docker
sudo usermod -aG docker "$USER"
If dnf complains that no repository is available for Fedora 44, edit /etc/yum.repos.d/docker-ce.repo and pin $releasever to 43 until Docker publishes a 44 entry.
Step 7: IOU/IOL support (optional)
If you have Cisco IOU/IOL images (entitled customers or lab-license holders only), pull in the iniparser dependency plus the 32-bit runtime libraries IOL binaries need:
sudo dnf -y install iniparser glibc.i686 libcrypt.i686GNS3 will tell you what is still missing the first time you point it at an IOL image.
Step 8: First launch and the Setup Wizard
Either launch GNS3 from your desktop application menu, or run it from a terminal:
gns3On first run the Setup Wizard asks where to run topologies. For a single-laptop install, pick Run appliances on my local computer:
Accept the default local server settings. Server path /usr/bin/gns3server, host localhost, and port 3080 match the package layout from Step 2:
GNS3 starts the local server and runs a connection test. The wizard should display Connection to the local GNS3 server has been successful!:
The Summary screen confirms what is about to be saved. Click Finish:
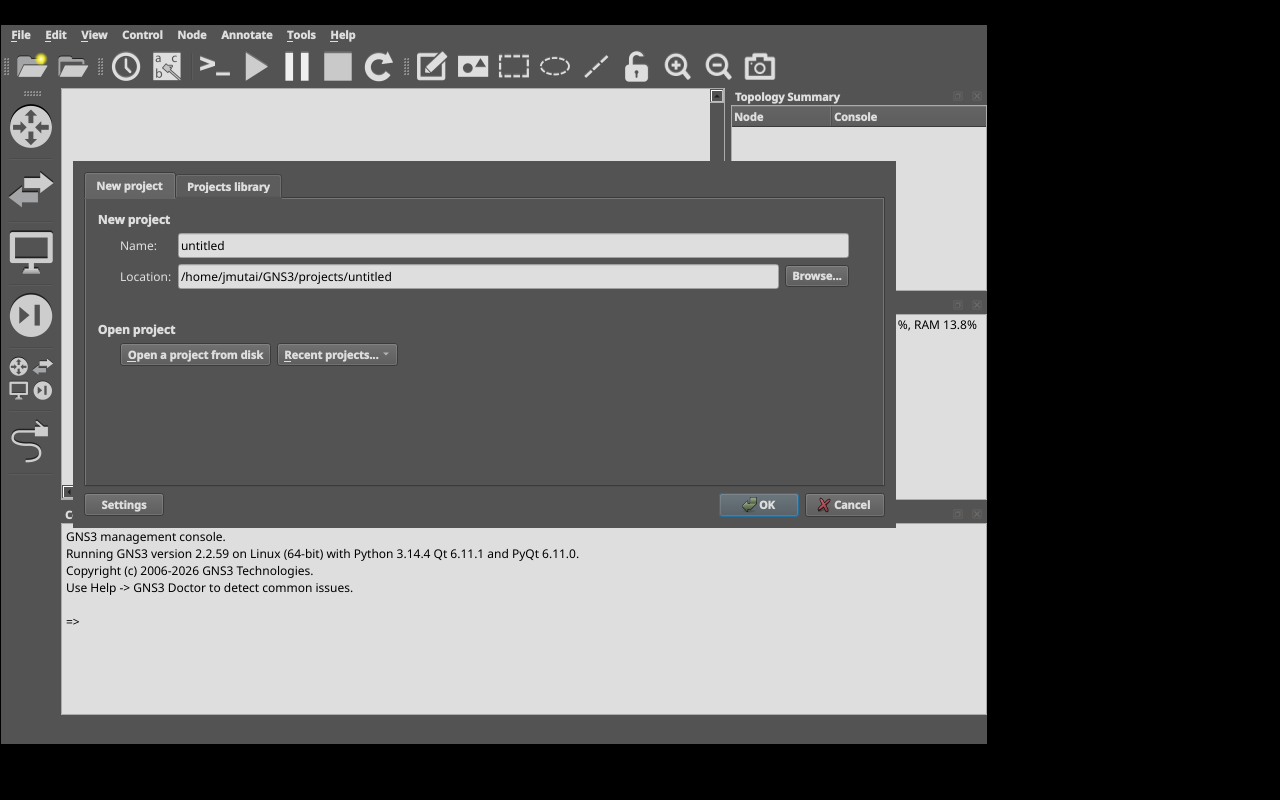
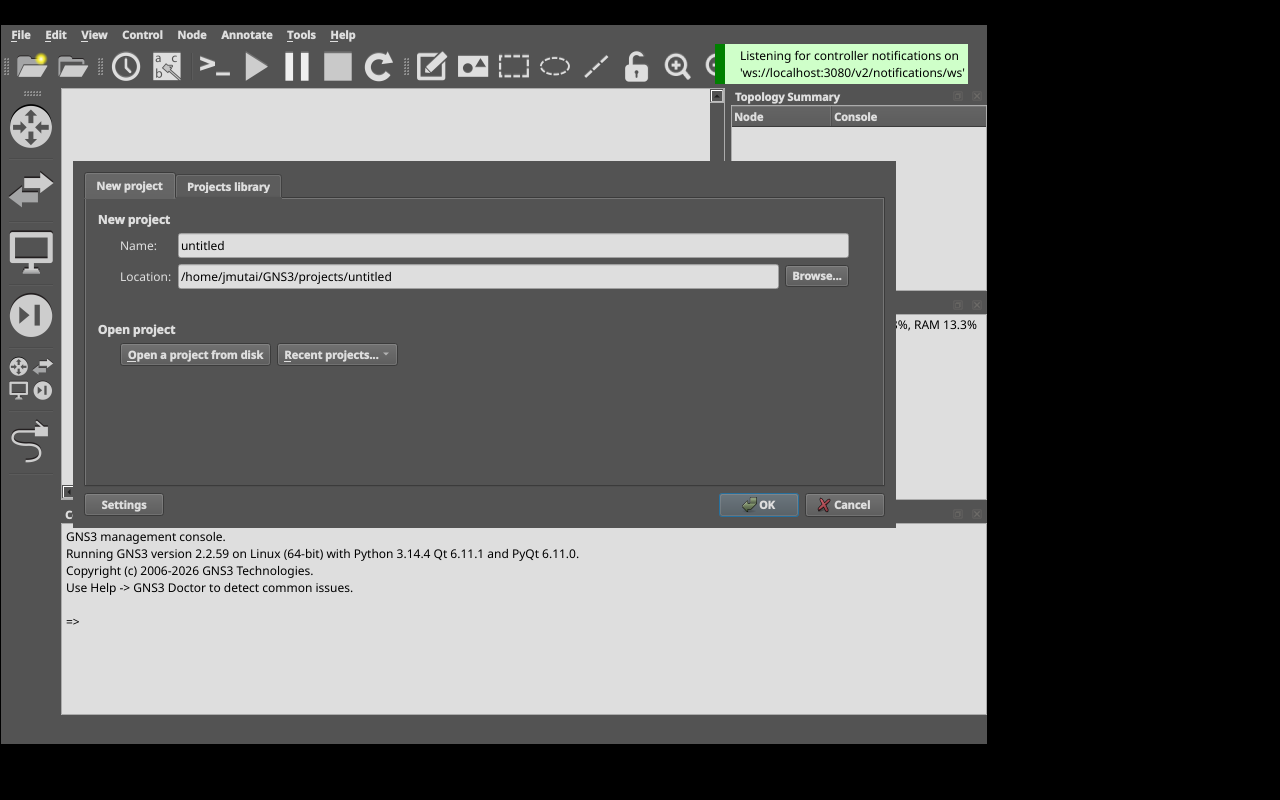
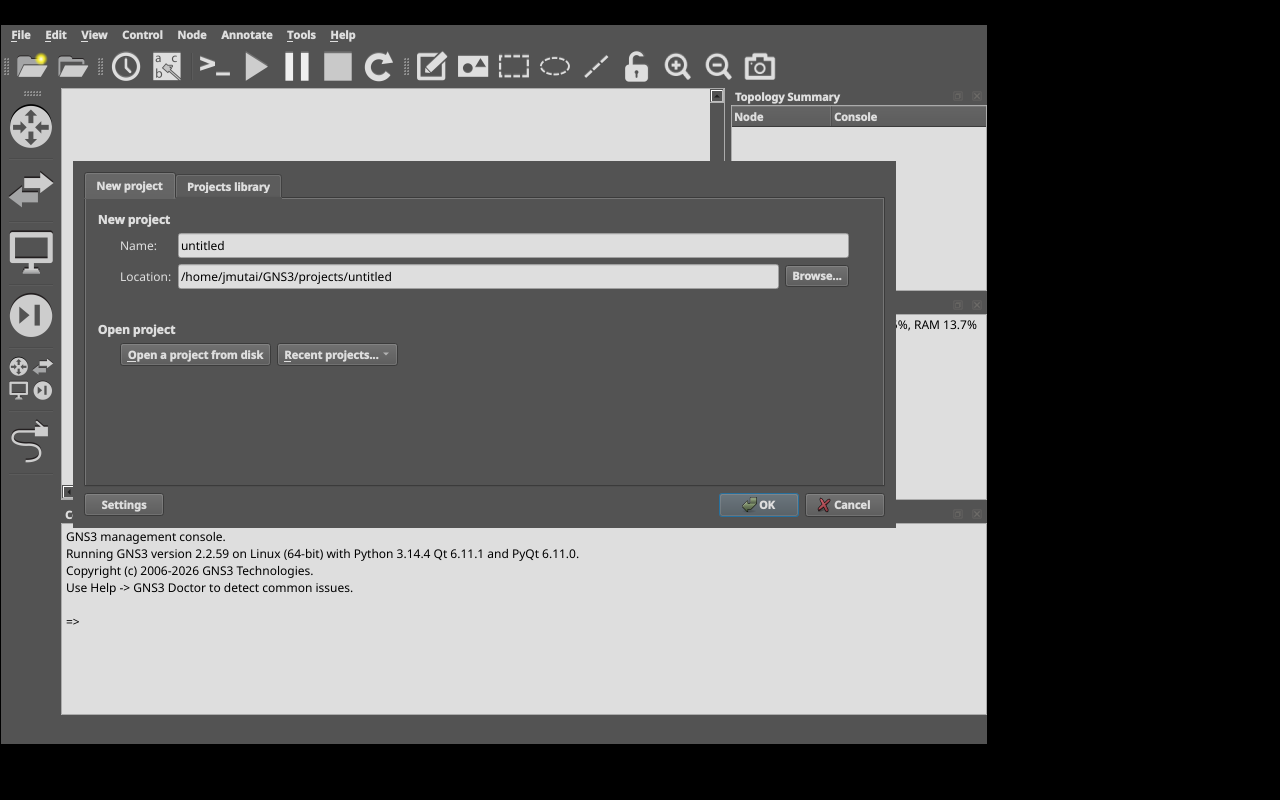
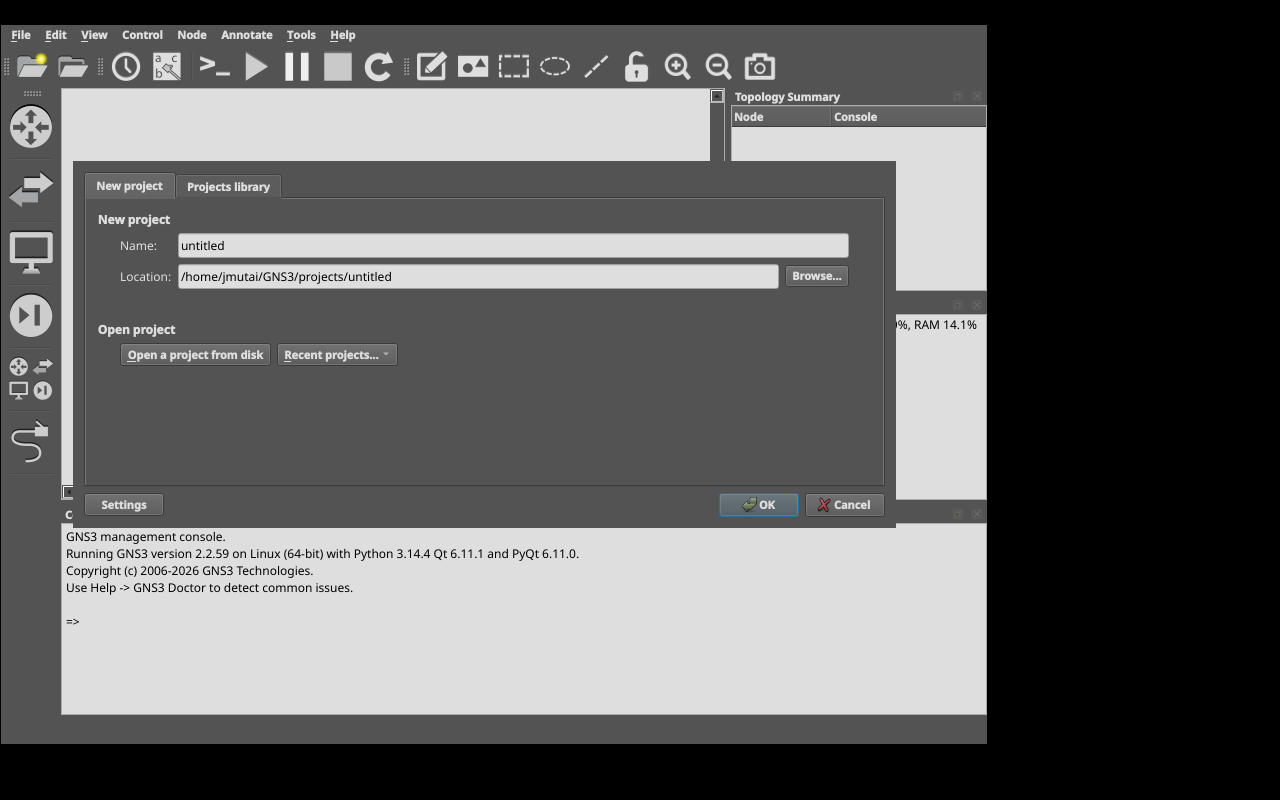
GNS3 then opens the New Project dialog. Give the project a name and click OK:
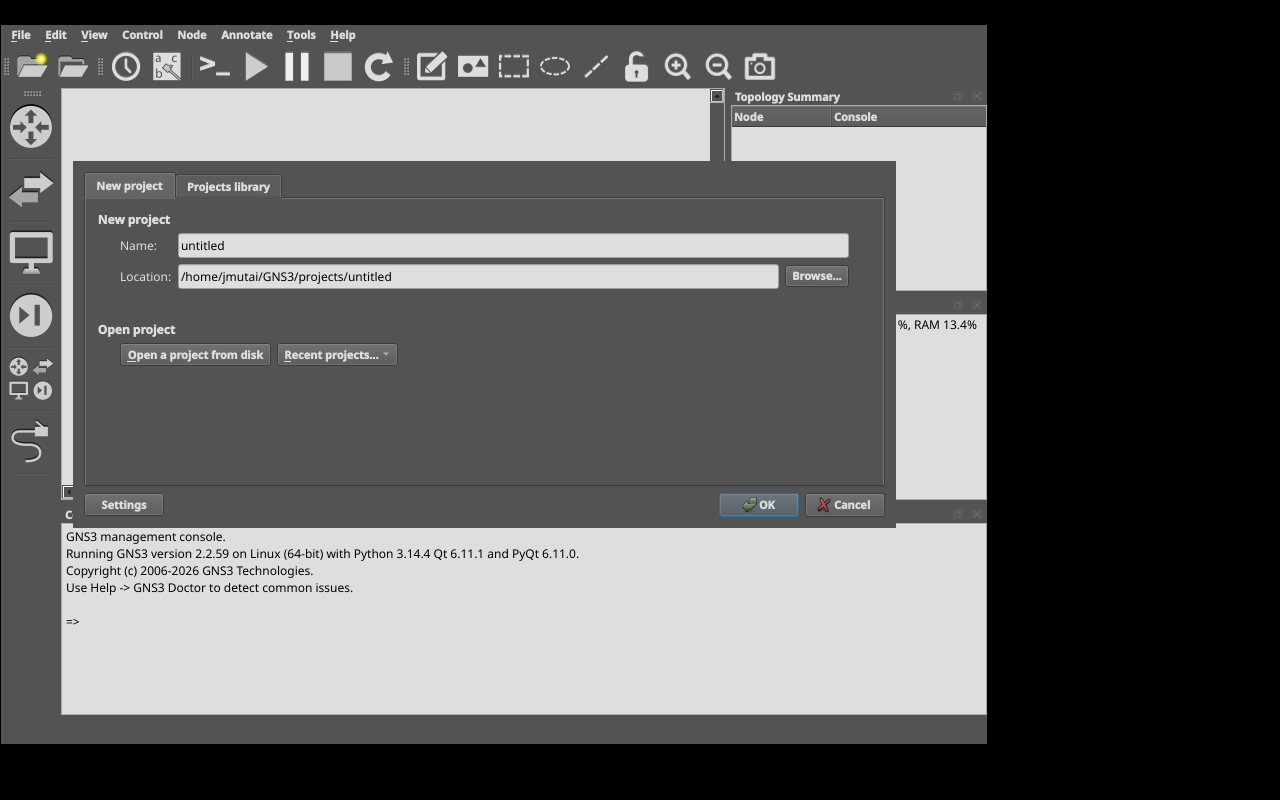
The console pane at the bottom of the GUI prints the running stack, which is a handy sanity check that confirms PyQt6 and Python 3.14:
GNS3 management console.
Running GNS3 version 2.2.59 on Linux (64-bit) with Python 3.14.4 Qt 6.11.1 and PyQt 6.11.0.
Copyright (c) 2006-2026 GNS3 Technologies.
Step 9: Build a 2-node VPCS lab
Prove the install actually works by building the simplest possible topology, two VPCS hosts back to back. In the GUI:
- Click the End devices icon in the left toolbar (the monitor).
- Drag two VPCS nodes onto the canvas.
- Click the Add a link icon (the cable) and connect
PC1 Ethernet0toPC2 Ethernet0. - Click the green Play button in the top toolbar to start both nodes.
- Right-click PC1, then Console to open a VPCS shell.
Assign IPs on each console:
ip 10.0.0.1/24
save
Repeat on the PC2 console with the other address:
ip 10.0.0.2/24
save
From the PC1 console, ping PC2:
ping 10.0.0.2 -c 4The output below is captured from a real gns3server REST-API run of the same lab on Fedora 44:
84 bytes from 10.0.0.2 icmp_seq=1 ttl=64 time=0.096 ms
84 bytes from 10.0.0.2 icmp_seq=2 ttl=64 time=0.202 ms
84 bytes from 10.0.0.2 icmp_seq=3 ttl=64 time=0.174 ms
84 bytes from 10.0.0.2 icmp_seq=4 ttl=64 time=0.207 ms
If you see replies, the entire stack (GUI, server, VPCS, uBridge link layer, capabilities) is working. For a more realistic lab, drop in QEMU appliances or attach Docker containers as nodes.
Step 10: Run the GNS3 server as a service (optional)
For a headless or shared-lab install, run the server independently of the GUI. The simplest form is foreground:
gns3server --host 0.0.0.0 --port 3080For a persistent setup, create a dedicated user, then drop a systemd unit at /etc/systemd/system/gns3-server.service:
[Unit]
Description=GNS3 Server
After=network-online.target libvirtd.service
Wants=network-online.target

[Service]
Type=simple
User=gns3
ExecStart=/usr/bin/gns3server --host 0.0.0.0 --port 3080
Restart=on-failure

[Install]
WantedBy=multi-user.target
Create the service account and enable the unit:
sudo useradd -r -m -d /var/lib/gns3 -s /sbin/nologin gns3
sudo usermod -aG kvm,libvirt gns3
sudo systemctl daemon-reload
sudo systemctl enable --now gns3-server
The first time gns3server runs, it writes ~/.config/GNS3/2.2/gns3_server.conf containing an autogenerated user and password the remote GUI needs to authenticate.
Open the firewall so remote GNS3 GUIs and node consoles can reach the server. The full firewalld configuration guide covers zones and rich rules. The two ranges GNS3 needs are:
sudo firewall-cmd --permanent --add-port=3080/tcp
sudo firewall-cmd --permanent --add-port=5000-10000/tcp
sudo firewall-cmd --reload
Troubleshooting common errors
Error: “qt.qpa.plugin: Could not load the Qt platform plugin xcb”
You are probably SSHed in without an X11 display. Run echo $DISPLAY. If it is empty, reconnect with ssh -X user@host or set up VNC, RDP, or xpra for the GUI.
Error: “uBridge: Permission denied”
Step 5 was skipped or the capabilities did not stick. Run getcap /usr/bin/ubridge and it must print cap_net_admin,cap_net_raw=ep. If empty, re-run the setcap from Step 5.
Wireshark “Capture” menu is greyed out
You are not in the wireshark group yet. Confirm with id. Either log out and log back in after usermod -aG wireshark, or run newgrp wireshark in the shell that launches GNS3.
Error: “dynamips: command not found”
/usr/local/bin may not be in $PATH for non-interactive shells. Run which dynamips to confirm the binary landed in /usr/local/bin/dynamips, then add export PATH=/usr/local/bin:$PATH to your shell profile.
QEMU appliances boot but run unusably slowly
Nested virtualization is off on your hypervisor. On Proxmox, VMware, or ESXi, set the Fedora VM CPU type to host and enable vmx or svm CPU passthrough, then reboot.
Uninstall GNS3
To remove everything this guide installed:
sudo dnf remove gns3-gui gns3-server ubridge
sudo rm -f /usr/local/bin/dynamips /usr/local/bin/nvram_export /usr/local/bin/vpcs
rm -rf ~/GNS3 ~/.config/GNS3 ~/.local/share/GNS3
GNS3 2.2.59 from the Fedora repos covers most lab needs out of one dnf install on Fedora 44, 43, and 42. For a cross-distro view, the GNS3 installation guide for Ubuntu walks through the same workflow on Debian-family systems, and the official GNS3 documentation covers appliance import, Cisco IOS images, and remote-server topologies.

It will be very useful tool for my learning.
Much Obliged, young man!
Always welcome and thanks for the comment.
Thank you, man! I just had to upgrade the VPCS because a typo glitch in the terminal. But everything else worked very well.
Thanks, really struggled with dynamips phase until found this tuto.
Thanks, very helpful and gns3 setup now works fine on my fedora 41
Hello, it’s an interesting post. But in the installation of vpcs it is generating some errors. As if the mirror were down. I leave this comment in case someone suffered or suffers the same problem, just try downloading it from another mirror
Thanks for the heads up. Third-party mirrors for GNS3 components can go down or change URLs between Fedora releases. If the VPCS package is unavailable from the configured repo, you can usually build it from the GNS3 GitHub source: https://github.com/GNS3/vpcs. Clone the repo and compile with
cd src && ./mk.sh.