You have two GL.iNet routers: one that stays home, one that rides in your bag. This wires them into a single Tailscale tailnet so the travel router sends all of its traffic out through the home box and can reach the devices on your home LAN, as if you never left. Two toggles on each side, one approval click, and a laptop on hotel Wi-Fi behaves like it is plugged in at home.
The piece that ties this together is the Tailscale exit node. A GL.iNet travel router running WireGuard and Tailscale can advertise itself as an exit node and as a subnet router; a second device then chooses to route through it. This guide sets up the home side, approves it, points the travel side at it, and verifies the public IP the internet sees actually changes. The GL.iNet Tailscale exit node is the same feature you would configure on a Linux box, so the commands here map one to one onto what the firmware runs underneath.
Confirmed working with Tailscale 1.98 in July 2026. The commands and output below come from a live two-box setup on Linux; GL.iNet’s firmware runs the same Tailscale, so the GUI toggles map directly to these commands. GUI labels are from current GL.iNet firmware (native Tailscale since v4.2, cleaner toggles in v4.9).
How the two-box setup fits together
There are two roles. The home gateway is a GL.iNet router that lives on your home network permanently, plugged into your main router or acting as it. It does two jobs at once: it offers itself as an exit node (so traffic can leave the internet through your home connection) and as a subnet router (so remote devices can reach your home LAN by its real 192.168.8.x addresses). A wired box with no radios to worry about, like the Brume 2, is a natural fit here because it just sits in the rack and forwards.
The travel router is the one you carry. It joins the same tailnet and selects the home gateway as its exit node. Everything behind it, your laptop, phone, work tablet, then egresses at home without any of those clients knowing Tailscale exists. That is the whole appeal: you configure the tunnel once on the router and every device that connects to its SSID inherits it.
Tailscale is what connects the two. Both routers log into your tailnet, get a stable 100.x address each, and find each other directly or through a relay. Nothing is port-forwarded and nothing is exposed to the public internet, which is the reason to reach for Tailscale over hand-rolled WireGuard on Linux for this particular job.
What you need
- Two GL.iNet routers on firmware 4.x. One stays home as the gateway (a wired GL.iNet Brume 2 is ideal), one travels (a pocket GL.iNet Beryl AX covers most trips). Check the current price on Amazon; the full comparison is in the travel router buyer guide.
- A free Tailscale account, with admin access to the console at login.tailscale.com. You need the console to approve routes, which is the one step that is not on the router.
- Your home LAN subnet. GL.iNet routers default to 192.168.8.0/24, which is what the examples below use. If your home gateway sits behind a different router, use that router’s LAN range instead.
None of this is unique to GL.iNet. If you want to run the home side on a server you already own, the same steps work on Tailscale in a Proxmox LXC container or any Linux host. GL.iNet just gives you the toggles in a web panel instead of a shell. If you would rather not depend on Tailscale’s hosted coordination server at all, the same exit-node and subnet mechanics apply when joining a device to a self-hosted Headscale mesh.
Enable Tailscale on both routers
On each router, open the admin panel and go to APPLICATIONS > Tailscale. Flip the Tailscale toggle on and click Apply. The router prints a login link; open it, sign in to your tailnet, and authorize the device. Do this on the home gateway first, then the travel router, so both show up as members of the same tailnet.
If you would rather see what the firmware actually does, GL.iNet’s OpenWrt base exposes the same Tailscale CLI you would use on Ubuntu. SSH into the router and the login step is one command:
tailscale up --hostname=home-gwConfirm both devices are on the tailnet before wiring the roles. From either box, the status list shows every member and its 100.x address:
tailscale statusYou want to see both home-gw and the travel router listed and online. Once they are, the handshake is done and the rest is deciding who routes through whom.
Turn the home router into an exit node and subnet router
Back in APPLICATIONS > Tailscale on the home gateway, enable two options and click Apply:
- Run Exit Node (the label on firmware v4.9 and later; earlier firmware groups the same setting under the router’s Tailscale exit-node options). This advertises the box as a place other devices can route all their traffic through.
- Advertise LAN Subnets (labelled Allow Remote Access LAN on earlier firmware). This advertises your 192.168.8.0/24 home network so remote devices can reach it by its real addresses.
Those two toggles run a single Tailscale command underneath. If you are building the home side on a plain Linux box or a Proxmox container instead of a GL.iNet router, enable IP forwarding first so the kernel will route traffic for other devices. The GL.iNet firmware sets this for you when you flip the toggles; on Linux you do it once yourself:
echo 'net.ipv4.ip_forward = 1' | sudo tee /etc/sysctl.d/99-tailscale.conf
echo 'net.ipv6.conf.all.forwarding = 1' | sudo tee -a /etc/sysctl.d/99-tailscale.conf
sudo sysctl -p /etc/sysctl.d/99-tailscale.conf
With forwarding in place, advertise the exit node and the home subnet in one command:
sudo tailscale up --advertise-exit-node --advertise-routes=192.168.8.0/24 --hostname=home-gwThe command returns to the prompt. Advertising a route or an exit node only offers it. Nothing routes through the home gateway until you approve it in the console, which is the next step and the one that trips people up.
Approve the routes in the Tailscale console
Open the Tailscale admin console, go to Machines, find home-gw, and open its route settings. You will see the advertised subnet (192.168.8.0/24) and the exit node listed as pending. Enable both, then save.
This step is worth calling out because the two toggles are approved independently, and on some tailnets they behave differently. On the tailnet used for this guide the subnet route auto-approved from an existing ACL rule, but the exit node stayed pending until it was ticked by hand. The symptom, if you skip it, is that the travel router refuses to select the gateway:
node "home-gw" is not advertising an exit nodeIf you hit that, the router did its part and the approval is missing. Tick the exit node in the console and it becomes selectable within a few seconds. You can confirm from any other device that the gateway is now an approved exit node:
tailscale exit-node listThe home gateway appears in the list with its 100.x address, which means it is ready to carry traffic:
 IP               HOSTNAME    COUNTRY   CITY   STATUS
 100.83.133.4     home-gw     -         -      -
Point the travel router through the home exit node
On the travel router, open APPLICATIONS > Tailscale, find the exit-node section (labelled Custom Exit Nodes on firmware before v4.9), enable it, refresh the list, select home-gw, and click Apply. From that moment every client on the travel router’s Wi-Fi egresses at home.
The command the GUI runs, if you are on the CLI, is one line. The --exit-node-allow-lan-access flag keeps the travel router’s own LAN reachable while everything else tunnels home, which you almost always want so you can still reach the router’s admin page:
sudo tailscale set --exit-node=home-gw --exit-node-allow-lan-accessOne caveat catches people who test on a single box: a device cannot advertise an exit node and use one at the same time. If the travel router is also advertising itself as an exit node, Tailscale refuses with Cannot advertise an exit node and use an exit node at the same time. Turn off exit-node advertising on the travel side; only the home gateway should offer it.
Verify all traffic exits at home
This is the test that matters. Before selecting the exit node, ask the internet what your public IP is. From a client behind the travel router:
curl https://ifconfig.meYou get the address of wherever you physically are, the hotel or cafe uplink:
198.51.100.23Now that the exit node is selected, run the exact same command again. The address changes to your home connection’s public IP:
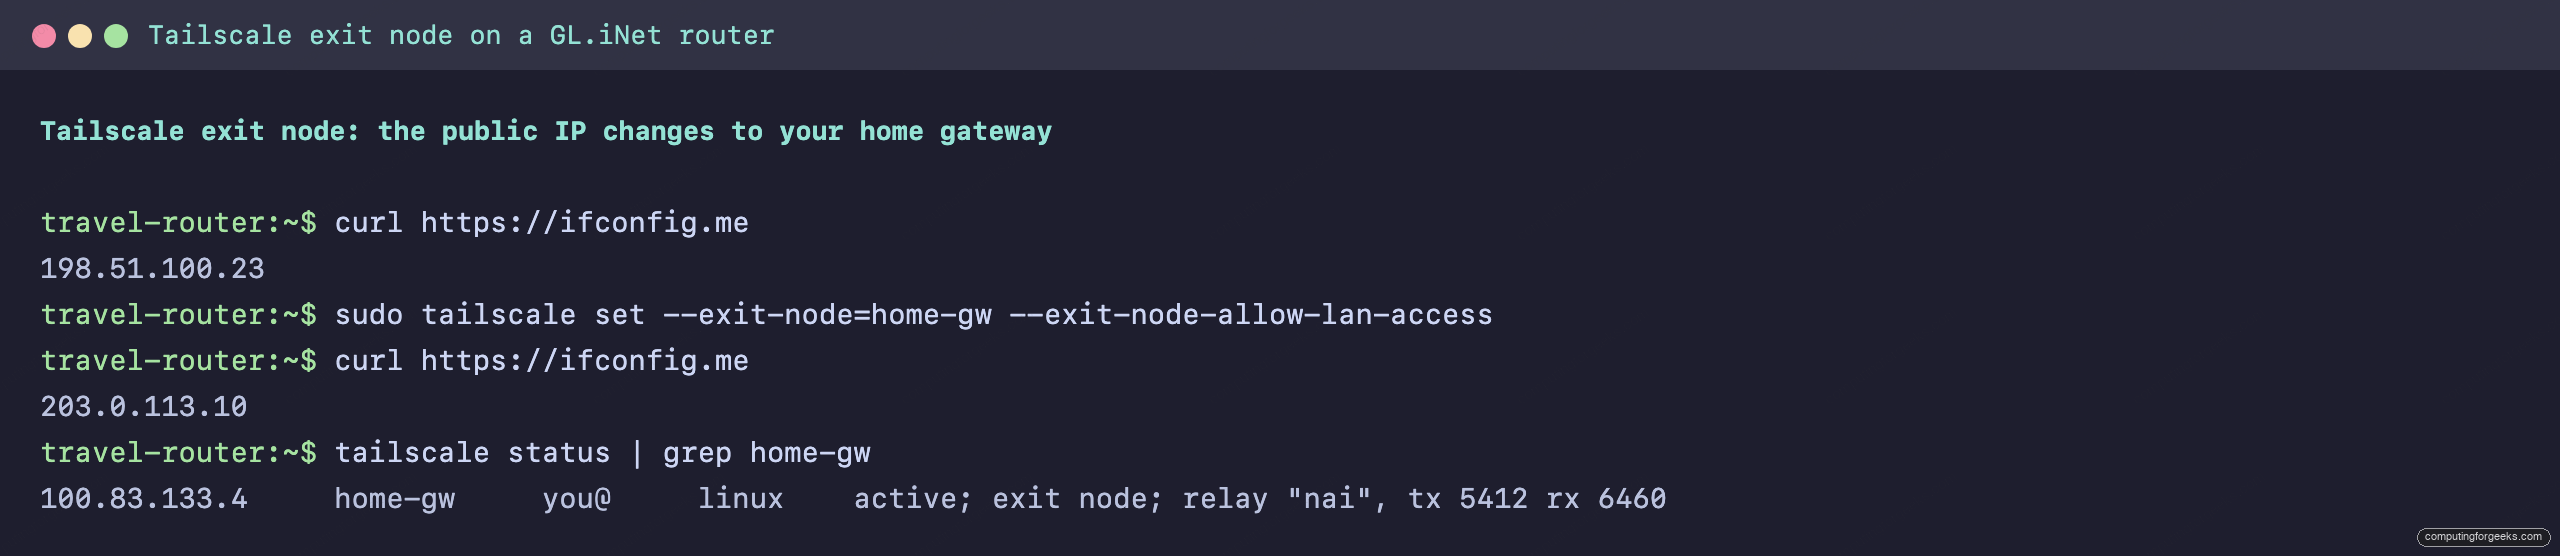
203.0.113.10That single change is the proof the whole setup exists for. Every site now sees your home IP, geolocation resolves to home, and services that trust your home network treat the travel router as if it were on it. The status list confirms the tunnel is carrying real traffic through the exit node:
tailscale statusThe gateway line shows it is active and moving bytes:
100.83.133.4 home-gw you@ linux active; exit node; relay "nai", tx 5412 rx 6460A quick tailscale ping home-gw rounds out the check. It reports whether the connection is direct or going through a relay, which tells you what to expect for latency on this link.
Here is the whole check on the travel router, from the local address to the home address and the confirmed exit-node status:
Reach your home LAN without full-tunnel
The exit node routes everything. Sometimes that is more than you want: you would rather send normal browsing out the local uplink for speed, and only reach your home NAS, Proxmox host, or printer over the tunnel. That is what the subnet router half is for, and it works independently of the exit node.
On the travel side, accept the routes the home gateway advertises without selecting it as an exit node:
sudo tailscale set --exit-node= --accept-routesNow the travel router can reach anything on the home 192.168.8.0/24 by its real address, including devices that have never heard of Tailscale. A home box at 192.168.8.20 that only runs a plain web service answers directly:
curl http://192.168.8.20/The response comes back from a device that is not on the tailnet at all, reached purely because the home gateway routes for its subnet:
a device on the home LAN (NOT running Tailscale). You reached it through the Tailscale subnet router.The travel router reached a plain LAN device with routes accepted and no exit node in play:

So the two features answer two different needs. Reach for the exit node when you want your whole session to look like it is coming from home, for geo-locked services or untrusted networks. Reach for the subnet route when you only need to touch a few home devices and want the rest of your traffic to stay local and fast. You can leave both configured and switch between them from the travel router in seconds.
When it does not route: three things to check
Almost every failure with this setup is one of three things, and the order to check them in is the order they break.
The route was never approved. If the travel router says the gateway is not advertising an exit node, or you cannot reach the home LAN, the advertisement is offered but not enabled. Go to the console, open the gateway’s route settings, and confirm both the exit node and the subnet are ticked. This is the single most common miss because the router side succeeds silently.
The client is not accepting routes. Reaching the home LAN needs --accept-routes on the travel side. The GUI’s LAN-access toggle sets this, but if you configured the box by CLI or reset it, the flag can be off. Turn it on and the subnet becomes reachable without touching the home gateway.
One box is trying to do both jobs. A device that advertises an exit node cannot use one. Keep the roles separate: the home gateway advertises, the travel router consumes. If you tested everything on one router first, clear its exit-node advertisement before pointing it at the gateway. With those three checked, the link comes up end to end, and the public IP changing on curl ifconfig.me is your signal that it did.