Cline started as a VS Code extension and is now equally at home in a terminal. The Cline CLI is the same open-source coding agent, without the editor: you point it at a project, describe a task, and it reads files, writes changes, runs commands, and checks its own work until the task is done. It is Apache 2.0, made by Cline Bot Inc., and it talks to whatever model you already pay for rather than locking you to one vendor.
This guide installs the Cline CLI, connects it to a model with your own API key, and puts it through a real task so you can see how the plan and act loop behaves. Everything here was run with Cline CLI 3.0.46 on Node.js 22 (Fedora Linux) in July 2026, using Anthropic’s claude-sonnet-5 as the backing model.
What the Cline CLI is, and how it differs from the extension
The CLI and the VS Code extension share the same agent engine, so the behavior you get in the editor is the behavior you get in the shell. The difference is where it runs and how you drive it. The extension lives in a sidebar and shows diffs and approvals in the editor. The CLI runs anywhere Node runs, takes the task as a command-line argument or an interactive prompt, and can run fully unattended, which is what makes it useful in a script or a CI job.
It is model-agnostic. Cline connects to Anthropic, OpenAI, Google Gemini, OpenRouter (a few hundred models behind one key), AWS Bedrock, Azure and GCP Vertex, Cerebras, Groq, and any OpenAI-compatible endpoint, including a local Ollama or LM Studio server for fully offline runs. You bring the key; Cline brings the agent loop, the file editing, the command execution, and the checkpoints that let you undo a run. If you have set up OpenCode or a terminal agent like the Gemini CLI or Antigravity CLI, the model setup will feel familiar.
Step 1: Install Node.js and the Cline CLI
Cline needs Node.js 22 or newer. Install it from your distribution or a version manager first. On Fedora the runtime is a single package:
sudo dnf install -y nodejs npmOn Ubuntu or Debian, pull Node 22 from NodeSource so you are not stuck on an older archive build:
curl -fsSL https://deb.nodesource.com/setup_22.x | sudo -E bash -
sudo apt install -y nodejs
macOS users can use Homebrew (brew install node), and on Windows winget install OpenJS.NodeJS.LTS works. However you get it, confirm the version before continuing:
node --versionThe output must be v22 or higher:
v22.22.2With Node in place, install Cline globally from npm. The package is the same on every platform:
sudo npm install -g clineConfirm the binary is on your path and reports its version:
cline --versionThe 3.0 line is current at the time of writing:
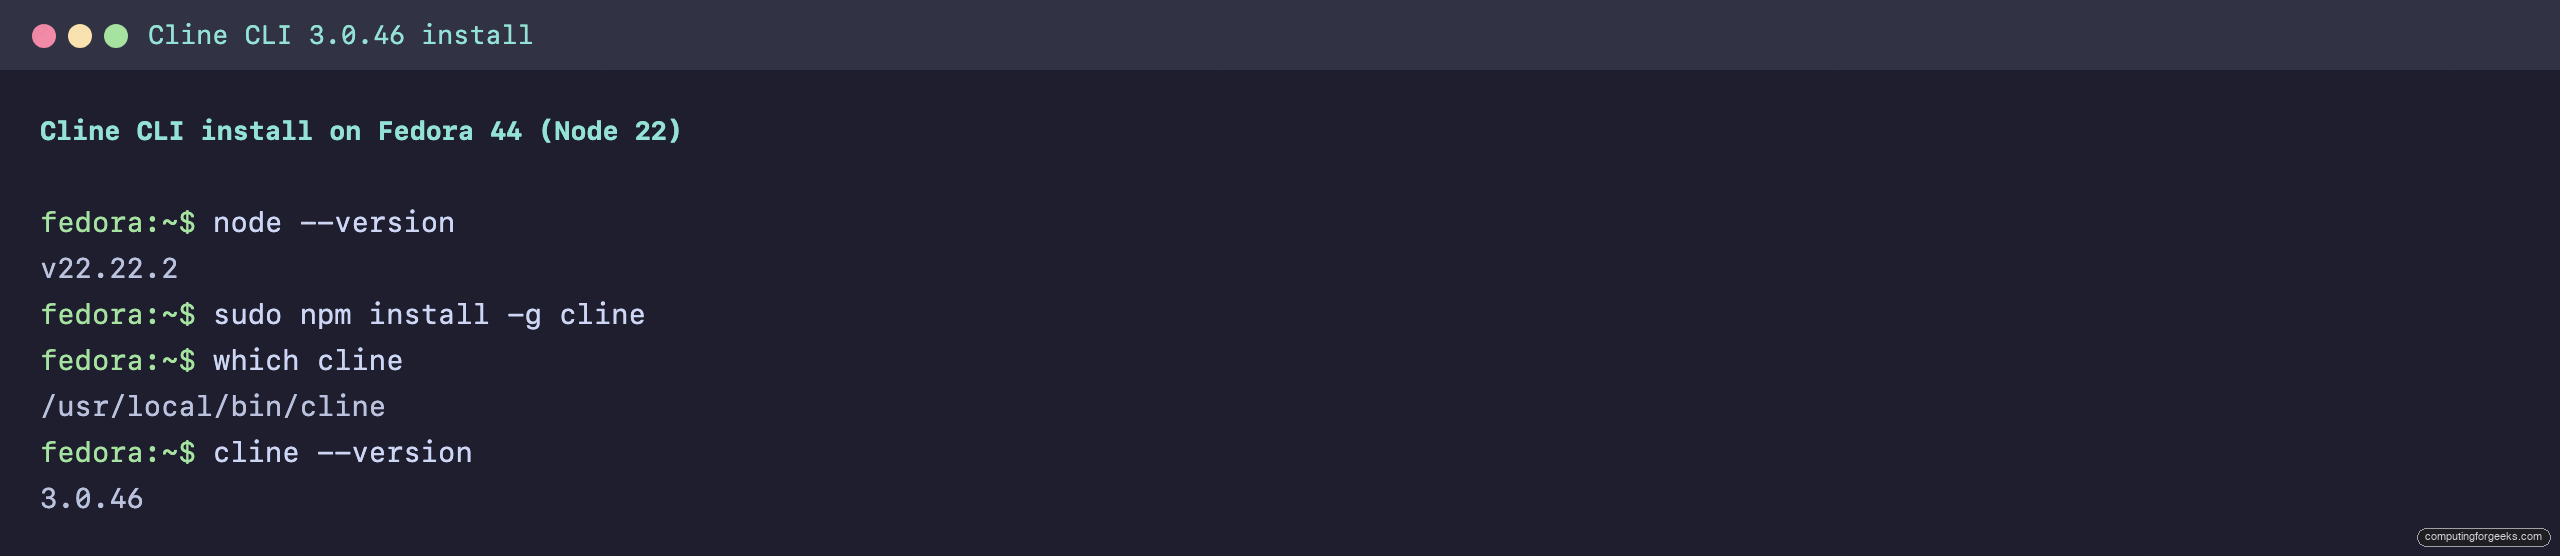
3.0.46The install and version check on the test machine looked like this:
With the CLI on your path, the next thing it needs is a model to talk to.
Step 2: Connect a model with your own key
By default, Cline uses a free Cline account, but the point of the CLI for most people is to drive a model they already have. The cline auth command stores a provider, a key, and a model so you do not repeat them on every run. This example wires up Anthropic:
cline auth anthropic -k sk-ant-your-key-here -m claude-sonnet-5Cline confirms the provider and the model it will use:
Provider configured: anthropic (claude-sonnet-5)If you would rather not persist the key, Cline reads standard environment variables such as ANTHROPIC_API_KEY or OPENAI_API_KEY, and you can override the provider, key, and model for a single run with the -P, -k, and -m flags. Swap anthropic for openai-native (that is OpenAI’s provider id; a bare openai selects the generic OpenAI-compatible endpoint instead), gemini, openrouter, bedrock, or ollama to point at a different backend; the rest of the workflow does not change.
Step 3: Plan mode versus act mode
Cline runs in one of two modes. Act mode is the default: it makes changes and, unless you tell it otherwise, auto-approves its own tool calls so the task runs start to finish without prompts. Plan mode is the safer first gear. It reasons about the task and tells you what it would do without touching a file. Reach for it when you want the agent’s approach before you let it loose. Add -p to any prompt:
cline -p "Add a HEALTHCHECK to a Dockerfile for a Node.js app on port 3000. Show the exact instruction and where it goes. Do not edit any files."The agent returns a plan, the instruction it would add, and a note that acting on it means switching modes. Nothing on disk changes:
HEALTHCHECK --interval=30s --timeout=5s --start-period=10s --retries=3 \
  CMD node -e "require('http').get('http://localhost:3000/health', res => process.exit(res.statusCode === 200 ? 0 : 1)).on('error', () => process.exit(1))"

Place it after EXPOSE and before CMD. As requested, I did not create or edit any
Dockerfile. Creating it would require switching to Act mode.
That separation is the whole safety model of the CLI. Plan when you are unsure, act when you trust the task.
Step 4: Run a real task end to end
The reason to use an agent instead of a chat window is that it closes the loop itself: it writes, runs, reads the error, and fixes it. To show that concretely, act mode was handed a genuine ops task in an empty directory and left to finish it:
cline "Create a bash script backup.sh that dumps a PostgreSQL database with pg_dump, compresses it with zstd to /var/backups using a timestamped filename, and deletes backups older than 7 days. Use set -euo pipefail and named variables. Then run shellcheck on it and confirm it is clean. Do not run the backup itself."Cline probed the environment, wrote the script, ran shellcheck, hit a real warning, fixed it, and re-ran the linter until it was clean. The tool calls it made, in order:
[run_commands] which shellcheck zstd pg_dump psql; shellcheck --version
[editor]       write /home/jmutai/demo/backup.sh
[run_commands] chmod +x backup.sh && shellcheck backup.sh
   In backup.sh line 25: readonly TIMESTAMP="$(date +%Y%m%d_%H%M%S)"
   SC2155: Declare and assign separately to avoid masking return values.
[editor]       edit backup.sh (split the declaration from the assignment)
[run_commands] shellcheck backup.sh; echo EXIT_CODE=$?; bash -n backup.sh
   EXIT_CODE=0
The interesting part is the middle. The first shellcheck pass flagged SC2155, the classic warning about masking a command’s exit code when you declare and assign a readonly variable on one line. Cline recognized it, split the line, and confirmed the fix rather than leaving it for you to catch:
TIMESTAMP="$(date +%Y%m%d_%H%M%S)"
readonly TIMESTAMP
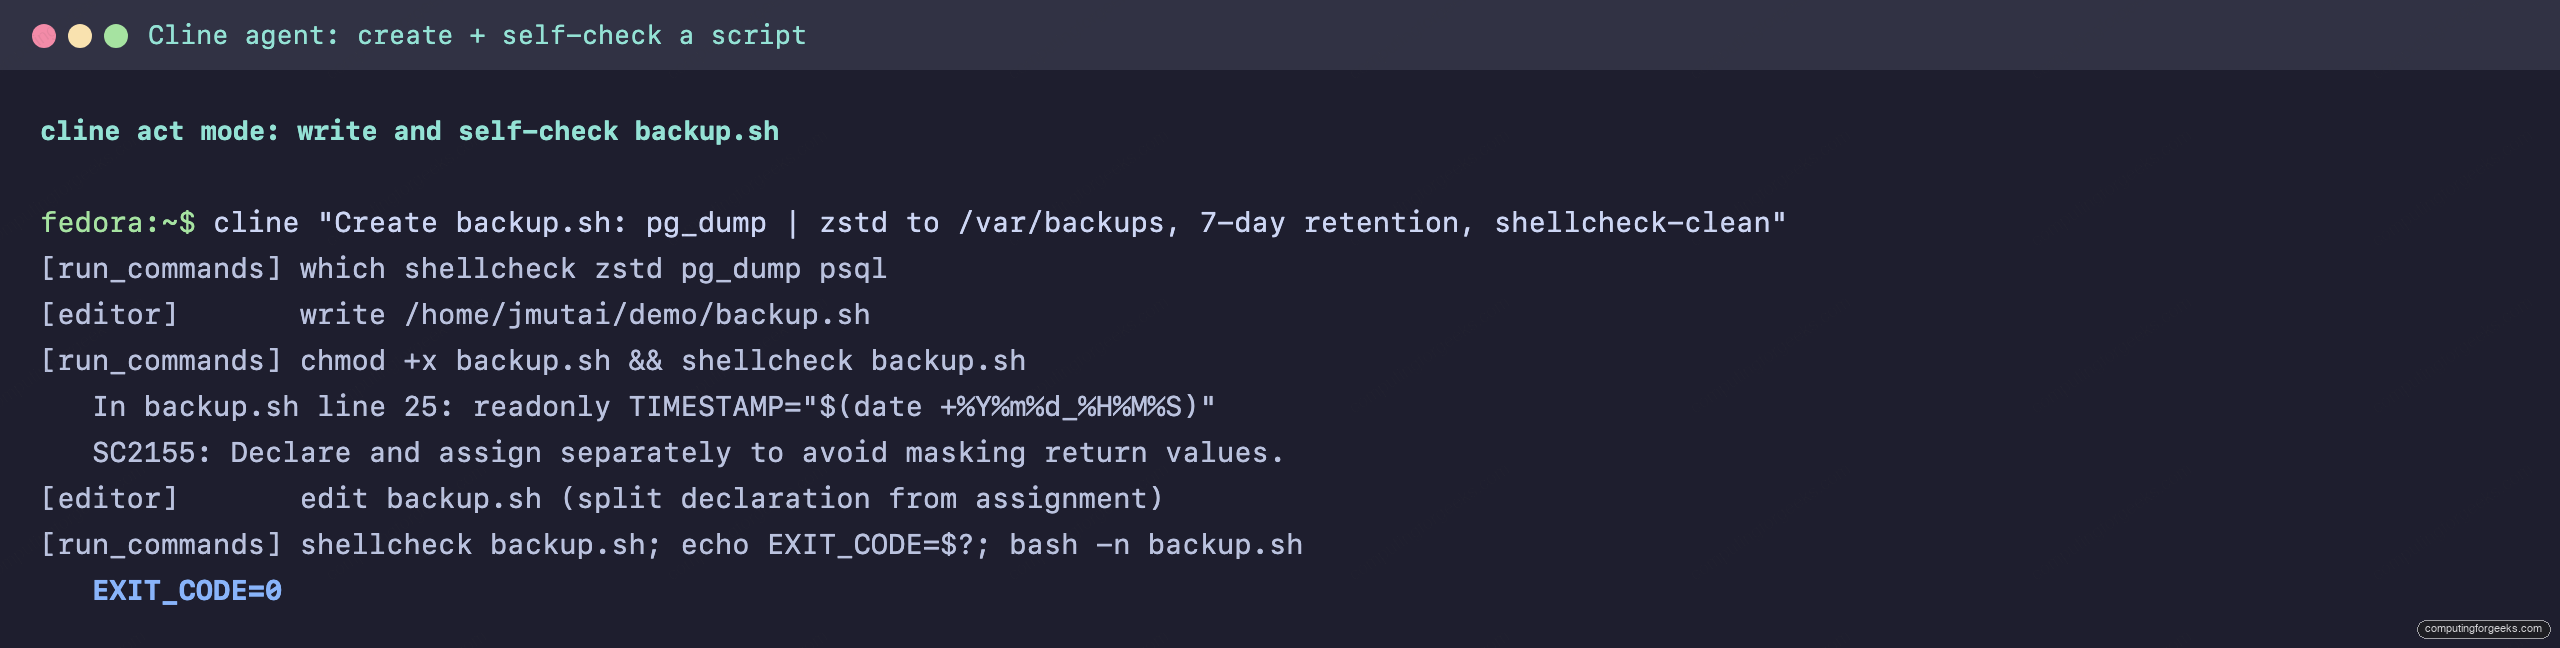
The full run, from the first environment probe to the clean re-check, in one terminal:
Running shellcheck independently against the finished file agrees:
shellcheck ~/demo/backup.sh; echo "exit: $?"No warnings, exit code zero:
exit: 0The script it produced was not a stub either: environment-overridable connection variables, log() and die() helpers, a pre-flight check for pg_dump, zstd, and find, the timestamped pg_dump | zstd pipeline, and a find -mtime +7 -delete retention step. This is the same self-checking loop you get from AI coding agents on DevOps tasks, driven entirely from the shell.
Step 5: Headless and CI runs
Because act mode already runs unattended, the CLI drops into automation with a couple of flags. Use --json to emit structured messages instead of styled text, keep --auto-approve true (the default) so nothing waits for input, and set a --timeout so a stuck run cannot hang a pipeline:
cline --json --auto-approve true --timeout 300 "Update the CHANGELOG with entries from git log since the last tag"Two more flags matter for unattended work. The --retries option caps how many consecutive mistakes the agent makes before it gives up, which stops a confused run from burning tokens forever. And --worktree runs the task in a detached git worktree under ~/.cline/worktrees/, so an agent working on your repo cannot touch your current branch until you review and merge the result. On a build agent, that isolation is worth turning on by default.
When to use the CLI, the extension, or the Kanban hub
The three surfaces are not competing, they suit different moments. The extension is best when you are already in VS Code and want to watch diffs and approve edits interactively, close to the code you are reading. The CLI is best for scripted and unattended work: a one-line task in a repo, a step in a pipeline, or a quick fix on a server where no editor is installed. When you want several tasks running at once and a view of what each agent is doing, cline --kanban opens a board that manages background sessions started with the -z flag. Most people end up using the extension for interactive work and the CLI for everything that should run without a human watching, and since both share one engine and one config, moving a task between them costs nothing. If you have compared the other open-source agents, Cline’s split between an editor tool and a headless CLI is the part that makes it easy to adopt in a team that lives half in an IDE and half on the command line.