
OPNSense project was started as a fork of pfSense in 2015. It is a purely open source solution build on hardened BSD to provide firewall and routing for home users and companies, both small and large. OPNSense has lots of features found in commercial firewalls, but offered for free!. Even though the project has quickly evolved, it has retained familiar aspects of both m0n0wall and pfSense. OPNsense has been adopted by both small and medium size enterprises.
Some of the features found in OPNSense firewall are;
- Two-factor Authentication throughout the system
- Captive portal
- DNS Server & DNS Forwarder
- Stateful inspection firewall
- Forward Caching Proxy (transparent) with Blacklist support
- Virtual Private Network (site to site & road warrior, IPsec, OpenVPN & legacy PPTP support)
- High Availability & Hardware Failover ( with configuration synchronization & synchronized state tables)
- Intrusion Detection and Prevention
- DHCP Server and Relay
- Build-in reporting and monitoring tools including RRD Graphs
- Netflow Exporter
- Network Flow Monitoring
- Support for plugins
- Dynamic DNS
- 802.1Q VLAN support
- Encrypted configuration backup to Google Drive
- Granular control over state table
In this article we assume you have a working installation of Proxmox VE server. Check out our articles below.
- How To Install Proxmox VE 8 on Debian 12 (Bookworm)
- How To Upgrade To Proxmox VE 8 from Proxmox VE 7
Configure Proxmox networking
The default installation of OPNSense or pfSense will require two network interfaces attached.
- WAN – Network intended for routing all traffic going the internet.
- LAN – Network intended for use by the devices in the local network. Not exposed to the outside world unless using NAT.
We’ll consider two network setups.
1. Standard basic network ( Server with 2 network cards)
Open the network configuration file
sudo vim /etc/network/interfacesModify the file to include two networks – WAN and LAN. The network interface cards on the Proxmox server should be configured beforehand.
source /etc/network/interfaces.d/*

auto lo
iface lo inet loopback
iface lo inet6 loopback

# Used for WAN
auto eno1
iface eno1 inet manual

# Used for LAN
auto eno2
iface eno2 inet manual

#WAN
auto vmbr0
iface vmbr0 inet static
        address  <server-wan-ip>
        netmask  <server-wan-ip-netmask>
        gateway  <server-wan-ip-gateway>
        bridge-ports eno1
        bridge-stp off
        bridge-fd 0


# LAN0
# Virtual switch for DMZ
# (connect your firewall/router KVM instance and private DMZ hosts here)
auto vmbr1
iface vmbr1 inet static
        address  <server-private-network-ip>
        netmask  <server-private-network-netmask>
        gateway  <server-private-network-gateway-ip>
        bridge-ports eno2
        bridge-stp off
        bridge-fd 0
2. Hetzner root server networking ( Server with 1 network card)
For hetzner dedicated root server we start with the request for additional secondary IP address.
Request for Extra Public IP address
For hetzner, you should request for an additional Public IP address for routing traffic from private subnet to the outside world. The main public IPv4 address provided by Hetzner does not support routing of traffic to external networks.
This is done from Server > IPs > Order Additional IPs/Nets

Choose “One additional IP” and provide description inside “Purpose of use” box to go with this request.
Once you have the additional IP address, request a MAC address for the IP address. The generated MAC will be used by OPNsense Virtual Machine in routing traffic into WAN.

Click the link to request for the MAC address.

Write down the following network information needed for configurations.
- Primary Public IP address assigned to your server
- Primary network CIDR block
- Secondary IP address ordered
- MAC Address of the secondary IP address you generated – We will assign this MAC to OPNsense VM WAN network (MAC field)
- Default Gateway
- Primary Network Netmask
With the secondary IP address, edit below sample network configuration file.
### Hetzner Online GmbH installimage

source /etc/network/interfaces.d/*

auto lo
iface lo inet loopback
iface lo inet6 loopback


iface <interface-name> inet manual

  up route add -net <Primary-Network> netmask <Primary-Subnet> gw <Primary-Gateway> dev  vmbr0
  up sysctl -w net.ipv4.ip_forward=1
  up sysctl -w net.ipv4.conf.<interface-name>.send_redirects=0
  up sysctl -w net.ipv6.conf.all.forwarding=1
  up ip route add 192.168.0.0/16 via <Secondary-IP> dev vmbr0
  up ip route add 172.16.0.0/12 via <Secondary-IP> dev vmbr0
  up ip route add 10.0.0.0/8 via <Secondary-IP> dev vmbr0

iface <interface-name> inet6 static
	address <IPv6-Address>
	gateway <IPv6-Gateway>


auto vmbr0
iface vmbr0 inet static
        address  <Primary-IP>
        netmask  32
        gateway  <Primary-Gateway>
        bridge-ports <interface-name>
        bridge-stp off
        bridge-fd 0
        pointopoint <Primary-Gateway>

# This serves as a virtual switch for your DMZ
# (VM instances and private DMZ hosts are connected to this network)
auto vmbr1
iface vmbr1 inet manual
        bridge_ports none
        bridge_stp off
        bridge_fd 0
#LAN0
Download OPNsense VM image
Visit OPNsense releases downloads page and check the latest available version for download, then download the x-nano-amd64.img.bz2 edition.
VER=24.1
wget https://mirror.ams1.nl.leaseweb.net/opnsense/releases/$VER/OPNsense-$VER-nano-amd64.img.bz2
Extract the package using bunzip2 command.
bunzip2 -d OPNsense-*-nano-amd64.img.bz2Rename extracted file.
mv OPNsense-*-nano-amd64.img OPNsense-nano-amd64.imgLet’s resize the image file, e.g to 30G.
$ qemu-img resize -f raw ./OPNsense-nano-amd64.img 30G
Image resized.
Create OPNsense VM using downloaded image
Provide variables for the virtual machine creation. Edit them in accordance to your environment and desired usage intention.
VM_NAME=OPNsense
VM_ID=$(pvesh get /cluster/nextid)
RAM=4096
CORES=2
BRIDGE1=vmbr0
BRIDGE2=vmbr1
IMAGE=./OPNsense-nano-amd64.img
With the variables set proceed to create VM instance.
qm create --name $VM_NAME \
  $VM_ID --memory $RAM \
  --cores $CORES --cpu cputype=kvm64 \
  --net0 e1000,bridge=$BRIDGE1 \
  --net1 e1000,bridge=$BRIDGE2 \
  --scsihw virtio-scsi-pci --numa 1
List the storage domains in your Proxmox server run.
root@Proxmox-VE ~ # pvesm status
Name         Type     Status           Total            Used       Available        %
local         dir     active       492392868        11379732
Importing disk for the VM with ID we’ll use
# STORAGE=local
# qm importdisk $VM_ID $IMAGE $STORAGE
...
transferred 21.9 GiB of 30.0 GiB (72.92%)
transferred 22.2 GiB of 30.0 GiB (73.96%)
transferred 22.5 GiB of 30.0 GiB (75.00%)
transferred 22.8 GiB of 30.0 GiB (76.04%)
transferred 23.1 GiB of 30.0 GiB (77.08%)
transferred 23.4 GiB of 30.0 GiB (78.12%)
transferred 23.8 GiB of 30.0 GiB (79.17%)
transferred 24.1 GiB of 30.0 GiB (80.21%)
transferred 24.4 GiB of 30.0 GiB (81.25%)
transferred 24.7 GiB of 30.0 GiB (82.29%)
transferred 25.0 GiB of 30.0 GiB (83.33%)
transferred 25.3 GiB of 30.0 GiB (84.37%)
transferred 25.6 GiB of 30.0 GiB (85.42%)
transferred 25.9 GiB of 30.0 GiB (86.46%)
transferred 26.2 GiB of 30.0 GiB (87.50%)
transferred 26.6 GiB of 30.0 GiB (88.54%)
transferred 26.9 GiB of 30.0 GiB (89.58%)
transferred 27.2 GiB of 30.0 GiB (90.62%)
transferred 27.5 GiB of 30.0 GiB (91.67%)
transferred 27.8 GiB of 30.0 GiB (92.71%)
transferred 28.1 GiB of 30.0 GiB (93.75%)
transferred 28.4 GiB of 30.0 GiB (94.79%)
transferred 28.7 GiB of 30.0 GiB (95.83%)
transferred 29.1 GiB of 30.0 GiB (96.87%)
transferred 29.4 GiB of 30.0 GiB (97.92%)
transferred 29.7 GiB of 30.0 GiB (98.96%)
transferred 30.0 GiB of 30.0 GiB (100.00%)
transferred 30.0 GiB of 30.0 GiB (100.00%)
transferred 30.0 GiB of 30.0 GiB (100.00%)
Successfully imported disk as 'unused0:local:105/vm-105-disk-0.raw'
VM configurations can be checked using.
qm config $VM_IDAfter importing the image, VM disk will remain unused. Navigate to VM’s hardware section, and double click to attach it.
# qm set $VM_ID --scsihw virtio-scsi-pci --virtio0 $STORAGE:$VM_ID/vm-$VM_ID-disk-0.raw
update VM 105: -scsihw virtio-scsi-pci -virtio0 local:105/vm-105-disk-0.raw
Set serial console and Boot order priority.
qm set $VM_ID --serial0 socket --vga serial0
qm set $VM_ID --boot c --bootdisk virtio0
Configure the instance to start on system boot.
qm set $VM_ID --onboot 1Boot VM and Configure OPNsense
Start the VM from command line
qm start $VM_IDOr from web interface. Open the VM console to see boot process.

Wait for the boot to finish and press any key to begin interface configurations and assignements.

Valid network interfaces will be detected once OPNsense server is booted.

Default network assignment for the interfaces is shown. You can customize or proceed if okay with the assignment.

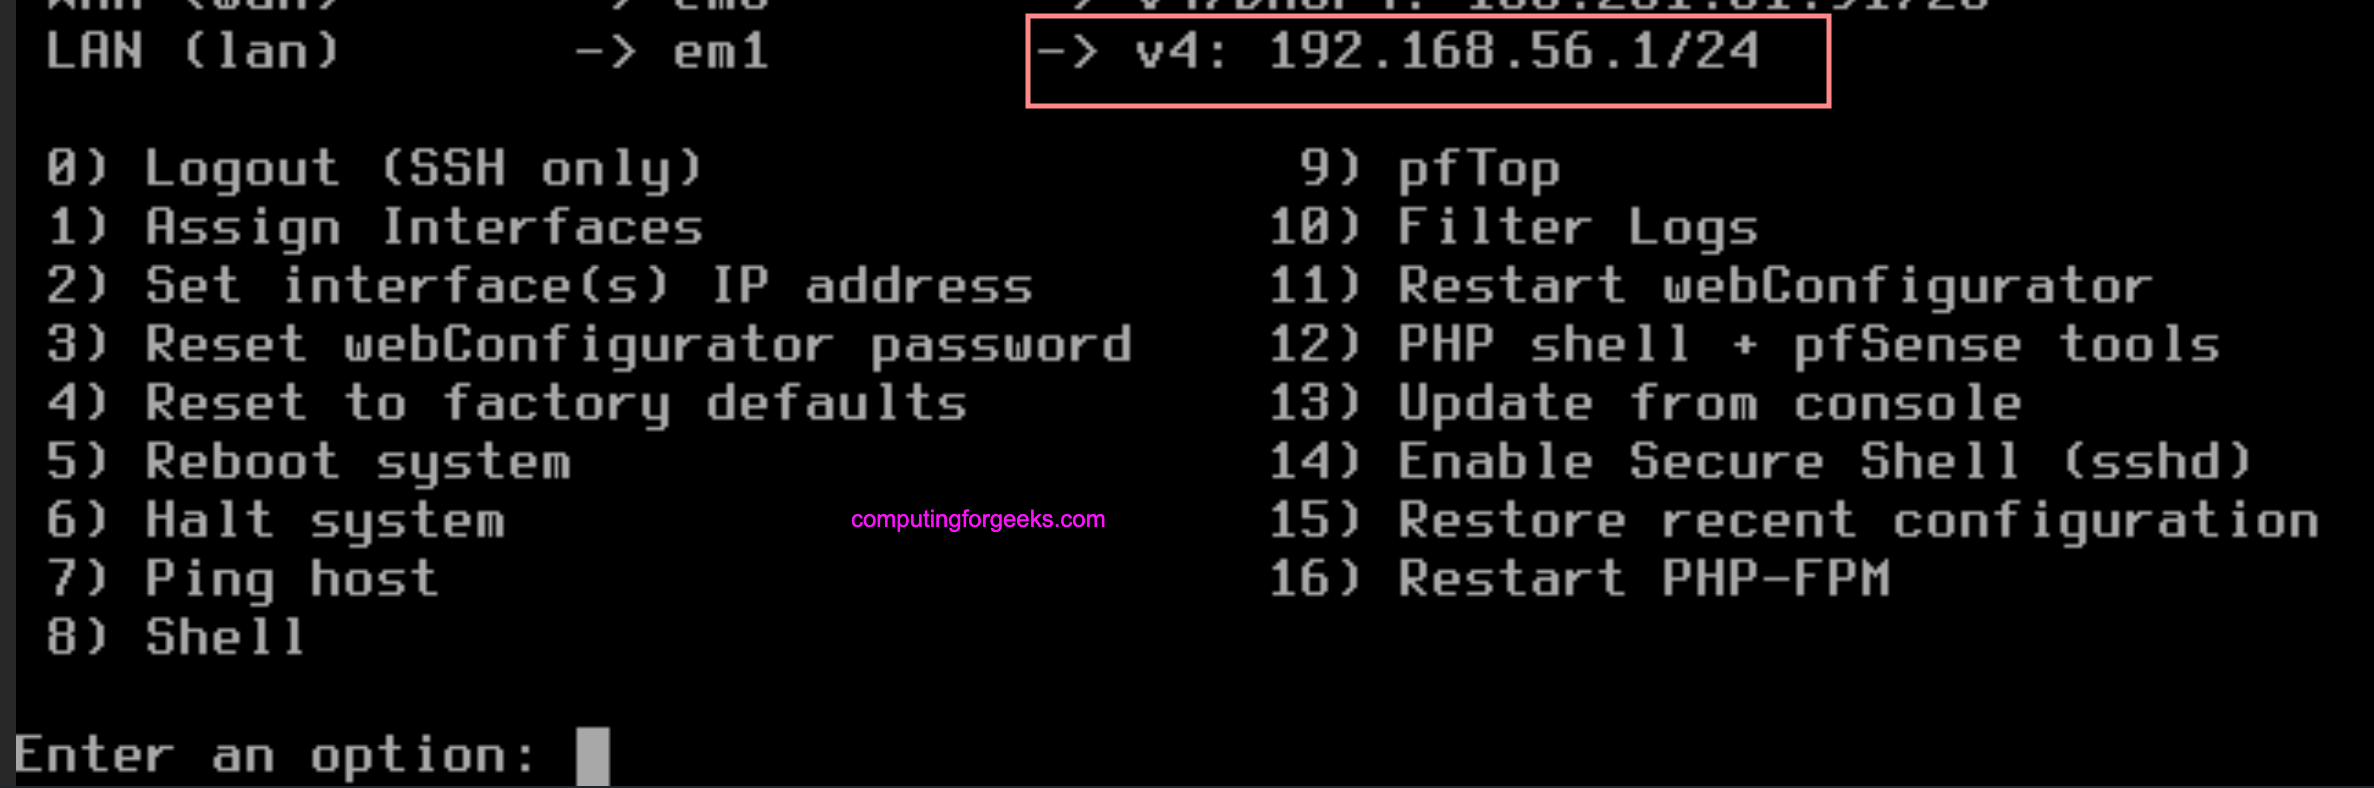
By default, the LAN network is assigned 192.168.1.0/24 but this can be changed later. If DHCP is available on WAN the server will get an IP address assigned.
The default LAN network is 192.168.1.0/24 but this can be changed using later.

Login to change server OPNsense settings. Default credentials.
- Username: root
- Password: opnsense
Choose configuration option from the list shown

For example, to configure static IP addressing on LAN interface use option 2

On LAN enabling DHCP server is often the case. Set Start and Last IP address for DHCP leases.

Final LAN network settings.

Installing Virtual Machine on LAN Network
We can now install a Virtual Machine on LAN network. Traffic will be routed through the extra public ip address for internet access.

You can set static IP address or allow DHCP assignment of the IP address by OPNsense DHCP server.

By using the created VM on OPNsense LAN, access OPNsense web admin dashboard on https://OPNsense_LAN_IP. Login with default creds root /opnsense.

Next reset root user password. Old password is opnsense. Set new strong root password.

In this tutorial we’ve been able to install and perform basic configurations of OPNsense on Proxmox VE server. Further usage guidance and administrative customizations are available in the official OPNsense documentation pages.
See more guides on Proxmox
- Creating Rocky / AlmaLinux / CentOS OS Templates on Proxmox VE
- Backup Proxmox VMs and Containers To Proxmox Backup Server
- How To Migrate Proxmox VM to Another Proxmox Node
- Creating Ubuntu and Debian OS Template on Proxmox VE
- Installing pfSense on Proxmox Hetzner root server
- Secure Proxmox Mail Gateway With Let’s Encrypt SSL


![Install Kali Linux 2026.1 Step by Step [Full Guide]](https://computingforgeeks.com/wp-content/uploads/2026/03/install-kali-linux-20261-step-by-step-768x403.png "Install Kali Linux 2026.1 Step by Step [Full Guide] 16")
 with Practical Examples 17")

![Deploy Algo VPN Server on Ubuntu 24.04 [Tested]](https://computingforgeeks.com/wp-content/uploads/2020/12/streisand-setup-diagram-768x451.png "Deploy Algo VPN Server on Ubuntu 24.04 [Tested] 19")