

Zen is a Firefox-based browser aimed at people who want a calmer web. It keeps Firefox’s privacy posture and extension support, then layers on workspaces, split view, a compact mode, and a side bar that handles tabs vertically. The result feels closer to Arc than to Firefox, while staying open source under MPL-2.0.
This guide walks through three install paths on Ubuntu 26.04 LTS and 24.04 LTS: the official tarball script, Flatpak from Flathub, and the portable AppImage. After install, we open Zen, run through the welcome flow, and tour the features that make it different from vanilla Firefox.
Prerequisites
- A working Ubuntu 26.04 LTS or Ubuntu 24.04 LTS install with a graphical desktop session
- A regular user account with
sudoprivileges curl,tar, andxz-utilsinstalled (present in default Ubuntu desktop)- For the Flatpak path: the
flatpakruntime and Flathub repository (covered below) - Around 400 MB of free disk space for the browser and its profile
About Zen Browser
Zen tracks upstream Firefox closely (each release names the Firefox version it ships on top of) and uses Mozilla’s gecko engine. Extensions installed from addons.mozilla.org work as they do in Firefox, including uBlock Origin and Bitwarden. The differences live in the chrome and the workflow: vertical tabs with workspaces, native split view, a compact mode that hides everything but the page, and Mods (theme add-ons) for visual tweaks.
Builds are released for x86_64 and aarch64 on Linux, plus macOS and Windows. The download surface is a single tar.xz tarball, an AppImage, or a Flathub package. There is no apt repository or .deb package for Ubuntu, so the install is a tarball drop into the user’s home directory or a sandboxed Flatpak.
Method 1: Install with the official tarball script
The Zen project ships a small shell script that downloads the latest tarball, extracts it under ~/.tarball-installations/zen, drops a launcher into ~/.local/bin/zen, and writes a freedesktop entry to ~/.local/share/applications/zen.desktop. It runs as the regular user, never as root, and does not touch /usr or apt.
Set a couple of shell variables so the install and any later upgrade run from the same paths:
export ZEN_HOME="${HOME}/.tarball-installations/zen"
export ZEN_BIN="${HOME}/.local/bin/zen"
export ZEN_DESKTOP="${HOME}/.local/share/applications/zen.desktop"
Run the official installer. It is non-interactive and finishes in under a minute on a typical connection:
curl -fsSL https://github.com/zen-browser/updates-server/raw/refs/heads/main/install.sh | bashThe script auto-detects your CPU architecture (x86_64 or aarch64), downloads zen.linux-${ARCH}.tar.xz from the latest GitHub release, untars it, and wires up the launcher and desktop entry. The expected output ends with Installation is successful.
Confirm the binary and desktop entry landed where the script claimed:
ls -la "${ZEN_BIN}" "${ZEN_DESKTOP}"
"${ZEN_HOME}/zen" --version
You should see the launcher pointing at ${ZEN_HOME}/zen, a desktop entry on disk, and a version string from the binary itself. Make sure ~/.local/bin is on your PATH so the zen command resolves; on Ubuntu 26.04 and 24.04 it is by default for graphical sessions, but in a fresh tty you may need to source ~/.profile.
Launch Zen from the Activities overview (search for Zen Browser) or directly from the terminal:
zen &That covers the tarball path. If you would rather keep the install sandboxed and let your desktop’s software center handle updates, the Flatpak route below is a better fit.
Method 2: Install from Flathub
The Flatpak path is sandboxed by default and gets automatic updates through whichever Flatpak frontend you use (GNOME Software, KDE Discover, or the flatpak CLI). The profile lives under ~/.var/app/app.zen_browser.zen/zen/, separate from the tarball install if you ever run both.
If you have not already enabled Flatpak on Ubuntu, the Snap, Flatpak and APT guide for Ubuntu 26.04 covers the one-time setup. The condensed version is two commands:
sudo apt update
sudo apt install -y flatpak gnome-software-plugin-flatpak
sudo flatpak remote-add --if-not-exists flathub https://flathub.org/repo/flathub.flatpakrepo
Log out and back in so the freshly registered Flathub remote shows up in your session. Then install Zen as a user-scoped Flatpak so the sandbox lines up with your home directory permissions:
flatpak install --user -y flathub app.zen_browser.zenFlathub will pull the runtime (org.freedesktop.Platform) on first install. Subsequent updates only fetch the Zen delta. Run the browser the same way you would any GUI app, or from the terminal with the application ID:
flatpak run app.zen_browser.zen &If you want the Flatpak version to be the default web browser handler on GNOME, set it via xdg-settings from inside the sandbox by opening Zen, going to Settings > General, and clicking Make Default. GNOME picks the change up immediately.
Method 3: Download the AppImage
The AppImage is a single self-contained binary, useful when you want to test Zen without installing anything or you are running on a locked-down host where you cannot add a Flatpak remote. Worth reading the Snap vs Flatpak vs AppImage comparison before committing to one packaging format. Grab the latest AppImage from the releases page:
mkdir -p "${HOME}/Apps"
cd "${HOME}/Apps"
wget -O zen.AppImage \
  https://github.com/zen-browser/desktop/releases/latest/download/zen-x86_64.AppImage
chmod +x zen.AppImage
The AppImage runtime needs FUSE. Ubuntu 24.04 ships libfuse2t64 by default; on Ubuntu 26.04 the same package is preinstalled. If you ever hit dlopen(): error loading libfuse.so.2, install it explicitly:
sudo apt install -y libfuse2t64Run the AppImage directly. On first launch it offers to integrate itself into your application menu via AppImageLauncher if that tool is installed:
./zen.AppImage &Whichever path you picked, the rest of the guide is identical. Zen behaves the same regardless of how the binary got onto disk; only the profile location and update mechanism differ.
First launch and initial setup
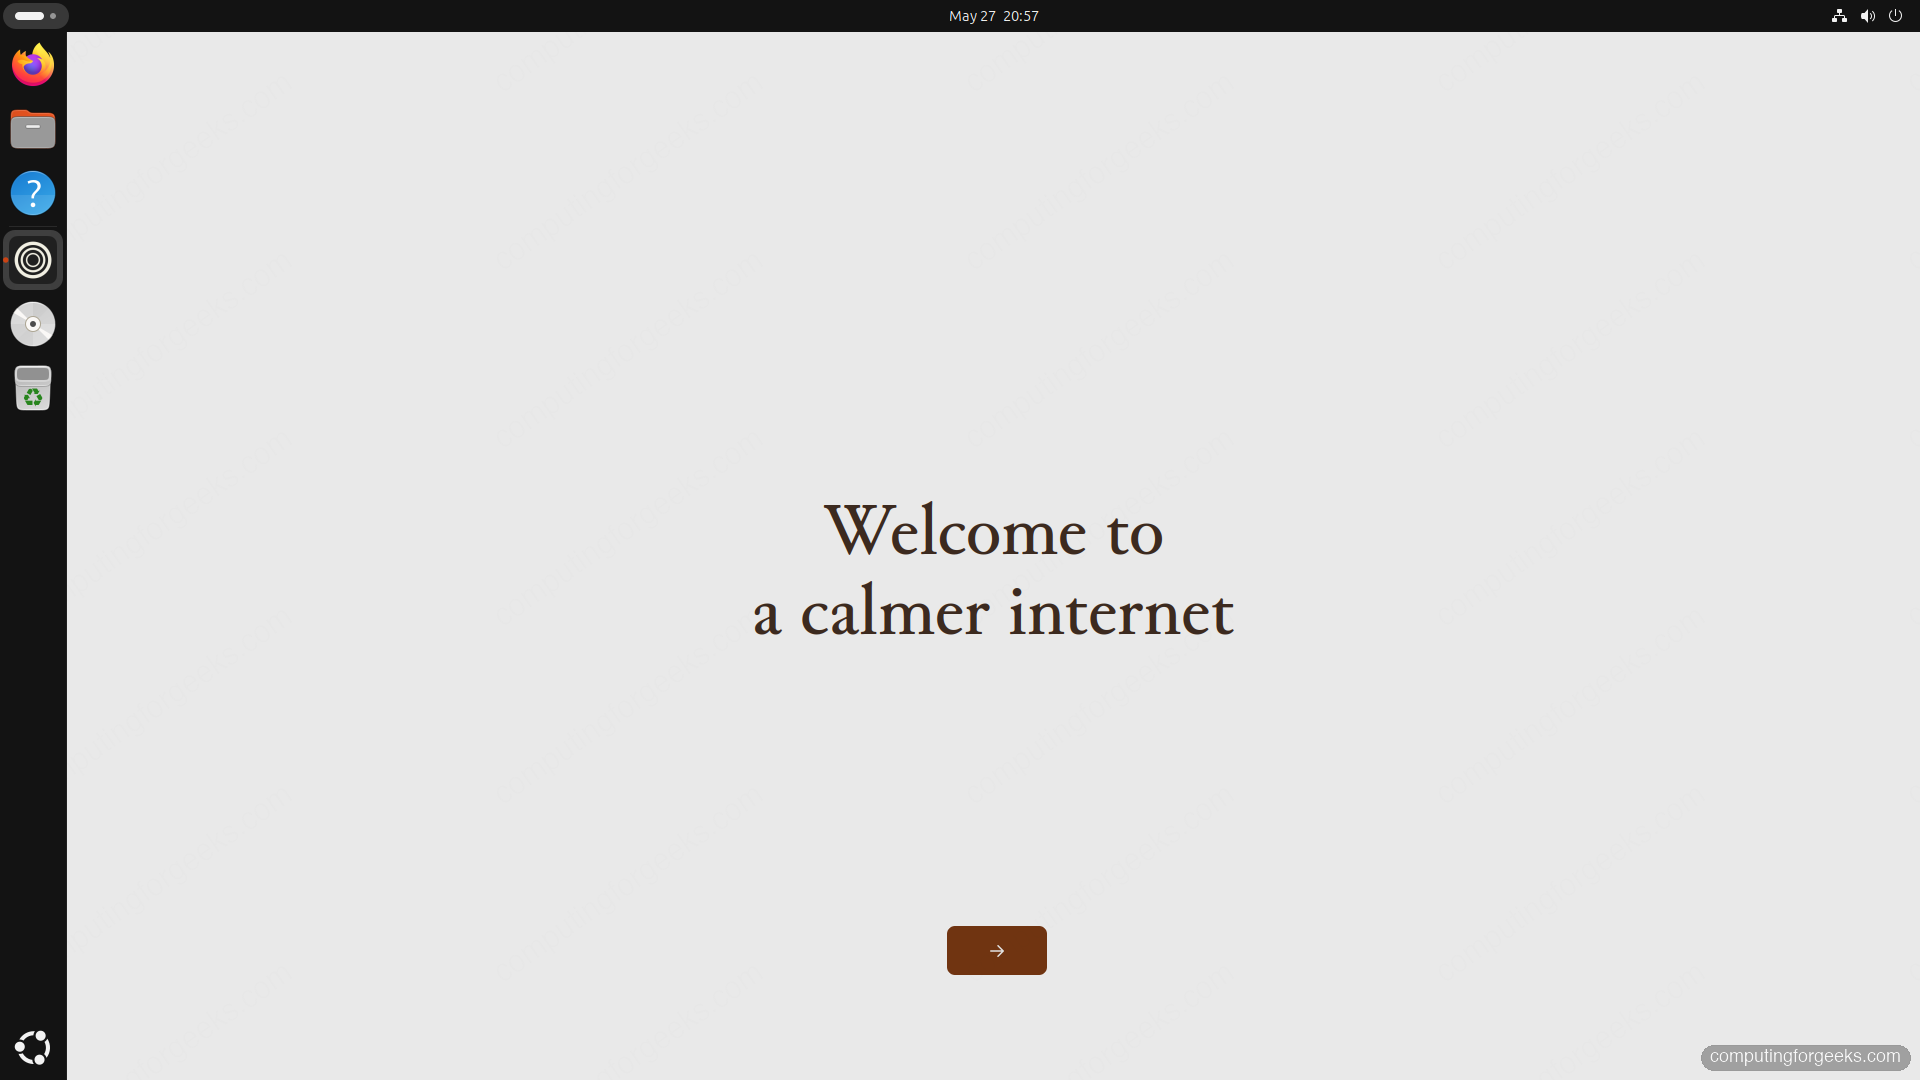
The first run opens the welcome flow. Zen asks you to pick a theme (Light, Dark, or System), accept telemetry preferences, and import data from another browser if you want a head start on bookmarks and saved logins. Firefox profiles import cleanly because the underlying engine is shared.
The welcome screen looks like this on a fresh install:
After clicking through the welcome cards, you land on the new tab page. The default chrome shows the sidebar on the left with vertical tabs, a search box at the top, and a workspace switcher at the bottom-left corner. This is the layout you are going to spend most of your time in.
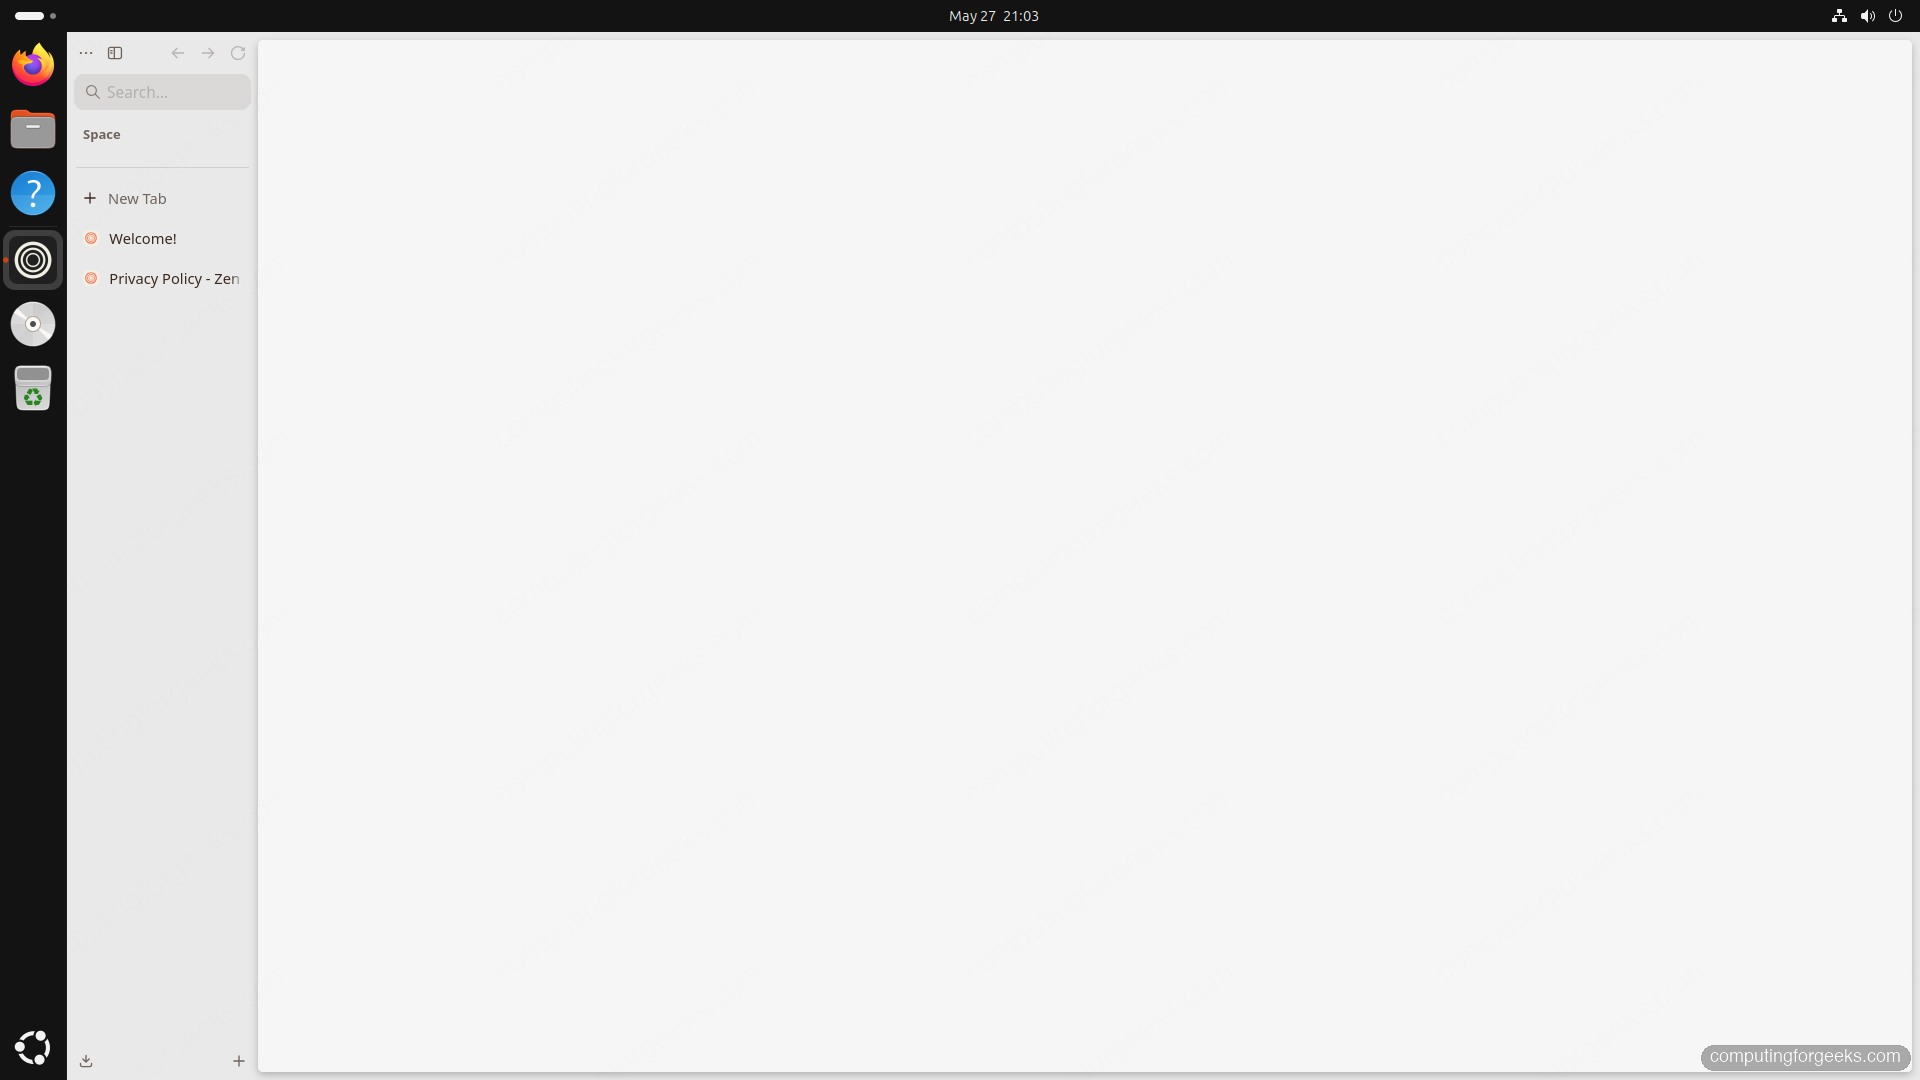
The sidebar holds every tab vertically, which suits modern wide monitors better than the horizontal tab strip in Firefox. Hovering near the left edge expands the sidebar when it is collapsed; clicking the small panel icon at the top toggles it between full, collapsed, and hidden states.
Open about:profiles in a new tab to see exactly where the script put your profile. The tarball install on Ubuntu lands the profile under ~/.config/zen/<random>.Default (release)/, with the cache under ~/.cache/zen/. The Flatpak install keeps its profile inside the sandbox at ~/.var/app/app.zen_browser.zen/zen/. Knowing the profile path matters when you back up data or sync between machines.
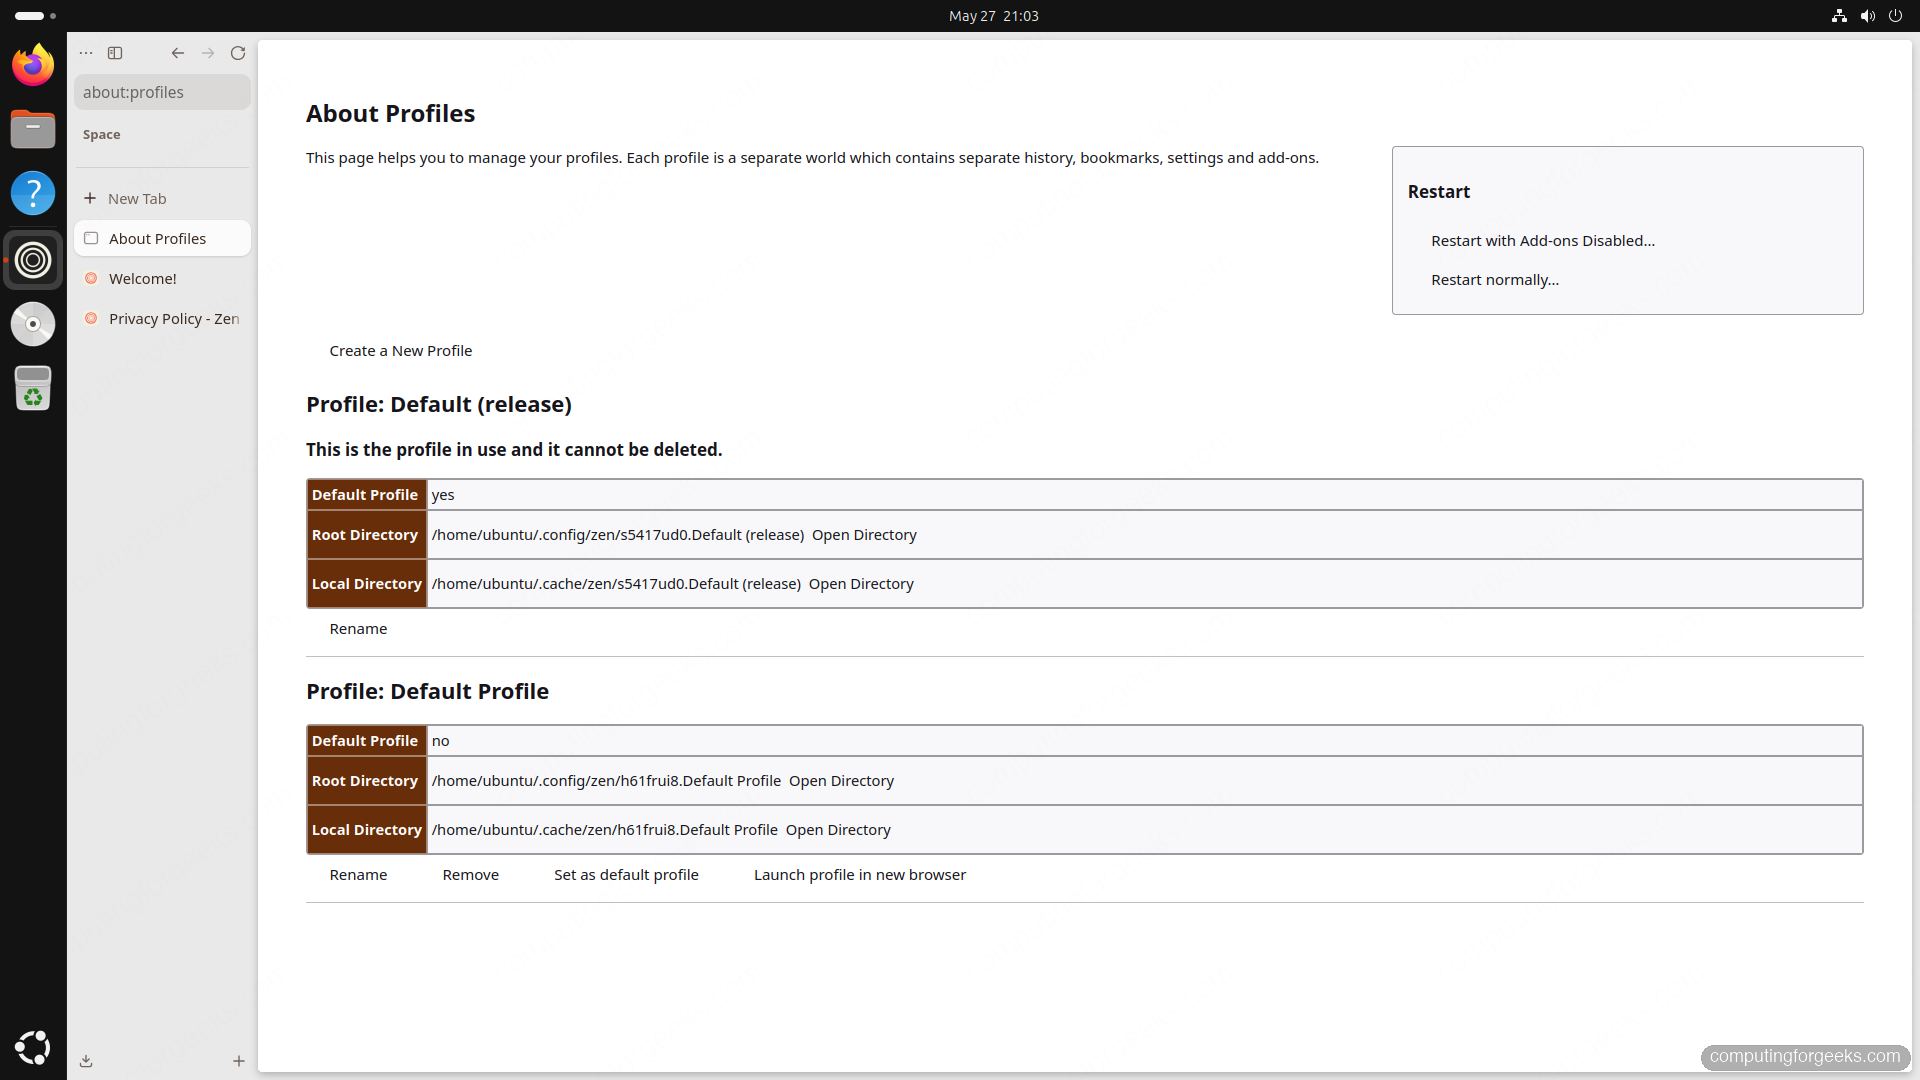
With the profile path noted, you can move past the welcome flow and start using the features that set Zen apart from a stock Firefox build.
Tour: workspaces, split view, and compact mode
Workspaces are the single biggest workflow difference from Firefox. A workspace is a named, color-coded container of tabs. You might have one for personal browsing, one for work, one for a specific project, and tabs do not leak across them. Open the workspace switcher with Ctrl + Shift + E or click the workspace pill at the bottom of the sidebar.
Split view puts two tabs side by side in a single window without spawning a second window. Right-click any tab and choose Split with current tab, or use the keyboard shortcut Ctrl + Alt + V. Useful for reading docs while looking at a config in another tab.
Compact mode collapses every chrome element except the page itself. The sidebar slides away, the URL bar hides, and you get something close to a kiosk view for reading. Toggle it with Ctrl + Alt + C. Hover near the screen edge to bring the sidebar back temporarily.
The settings UI under Preferences > Look and Feel is where you customize all of this: sidebar layout, workspace icons, compact mode hover delay, and the Zen URL bar behavior.
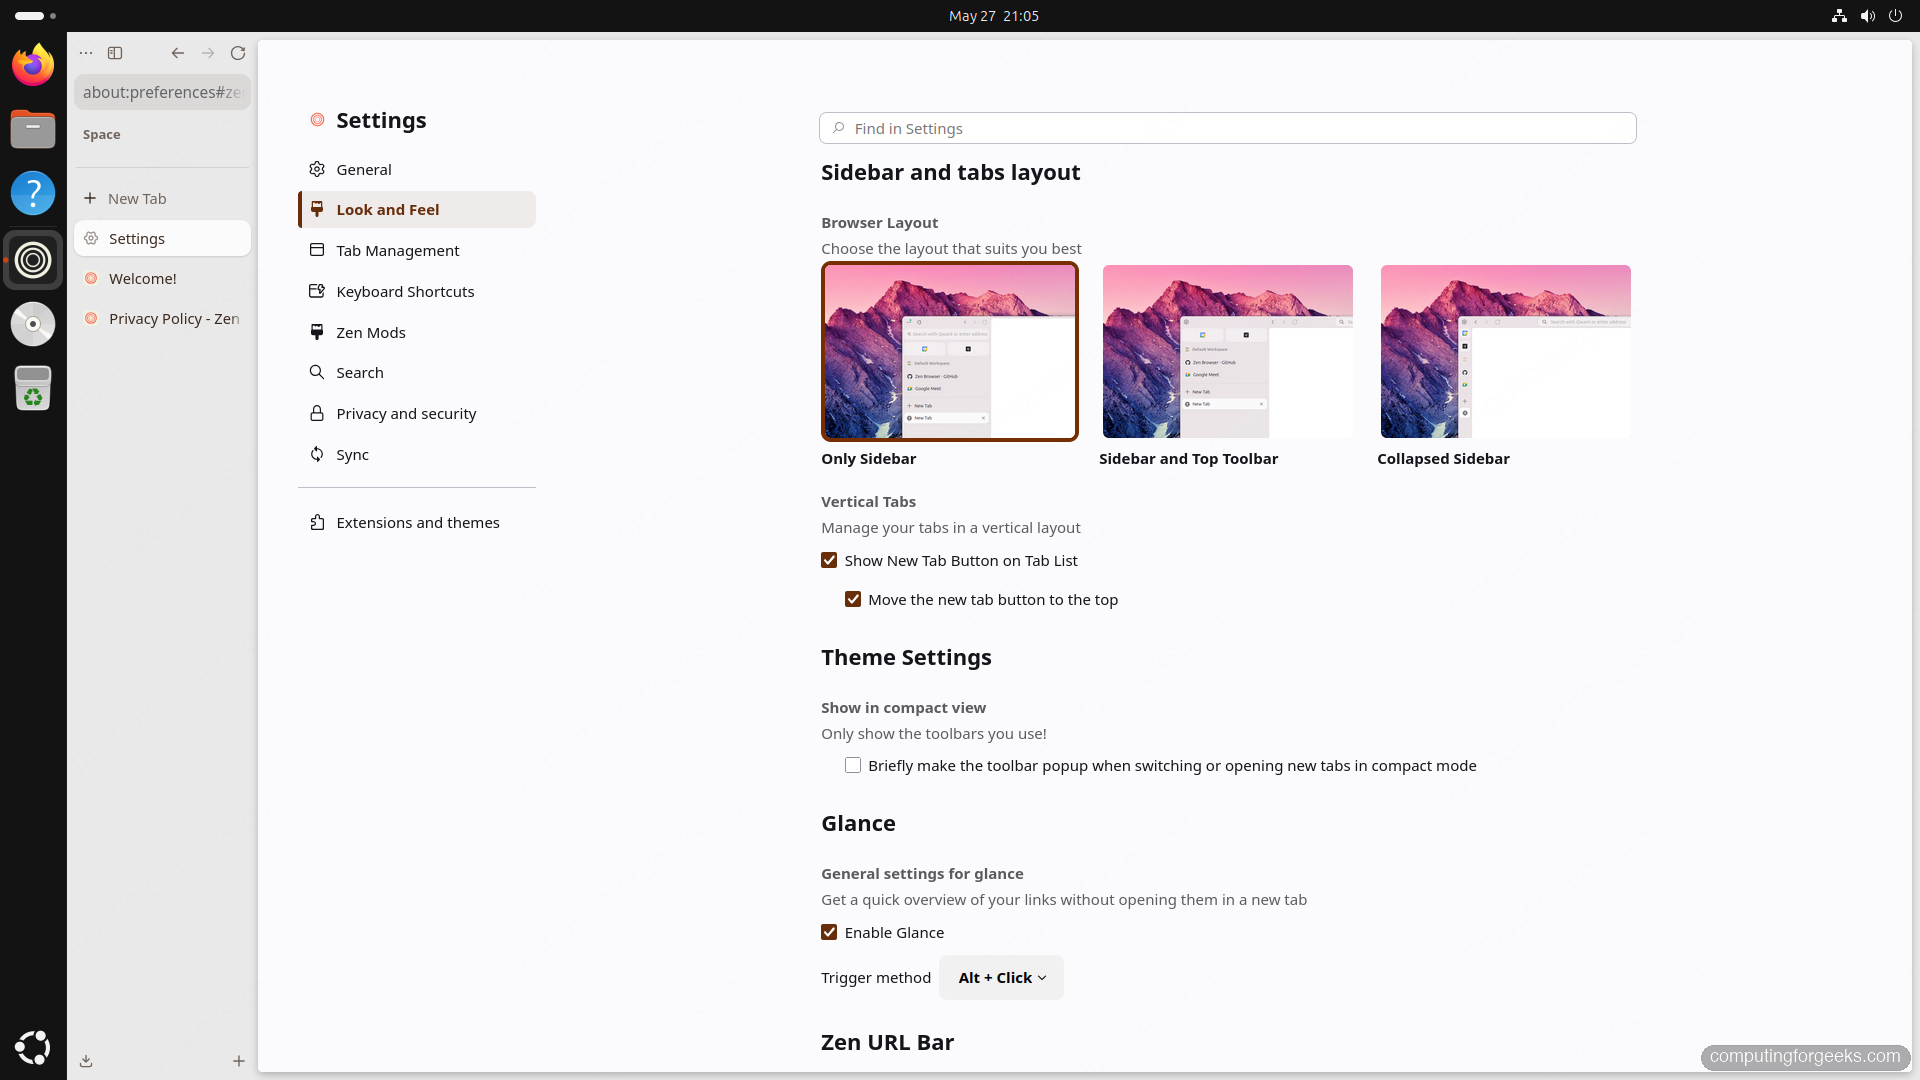
The three layout cards near the top (Only Sidebar, Sidebar and Top Toolbar, Collapsed Sidebar) cover most preferences. Pick Only Sidebar for the cleanest reading experience, Sidebar and Top Toolbar if you miss a traditional address bar, or Collapsed Sidebar when you want maximum content area and reveal-on-hover behavior.
Install extensions and themes
Because Zen runs on Firefox, you install extensions from the standard Mozilla Add-ons site. Open addons.mozilla.org, find what you need (uBlock Origin, Bitwarden, Dark Reader, Tree Style Tab, and the like), and click Add to Zen. The button text changes from Add to Firefox the first time you visit, which is a small but nice touch.
For visual themes, Zen has its own ecosystem called Mods at zen-browser.app/mods. Each Mod tweaks the chrome (sidebar style, tab shape, gradients) without modifying the engine. Install them with one click from the gallery; they show up under Preferences > Zen Mods where you can toggle them on and off.
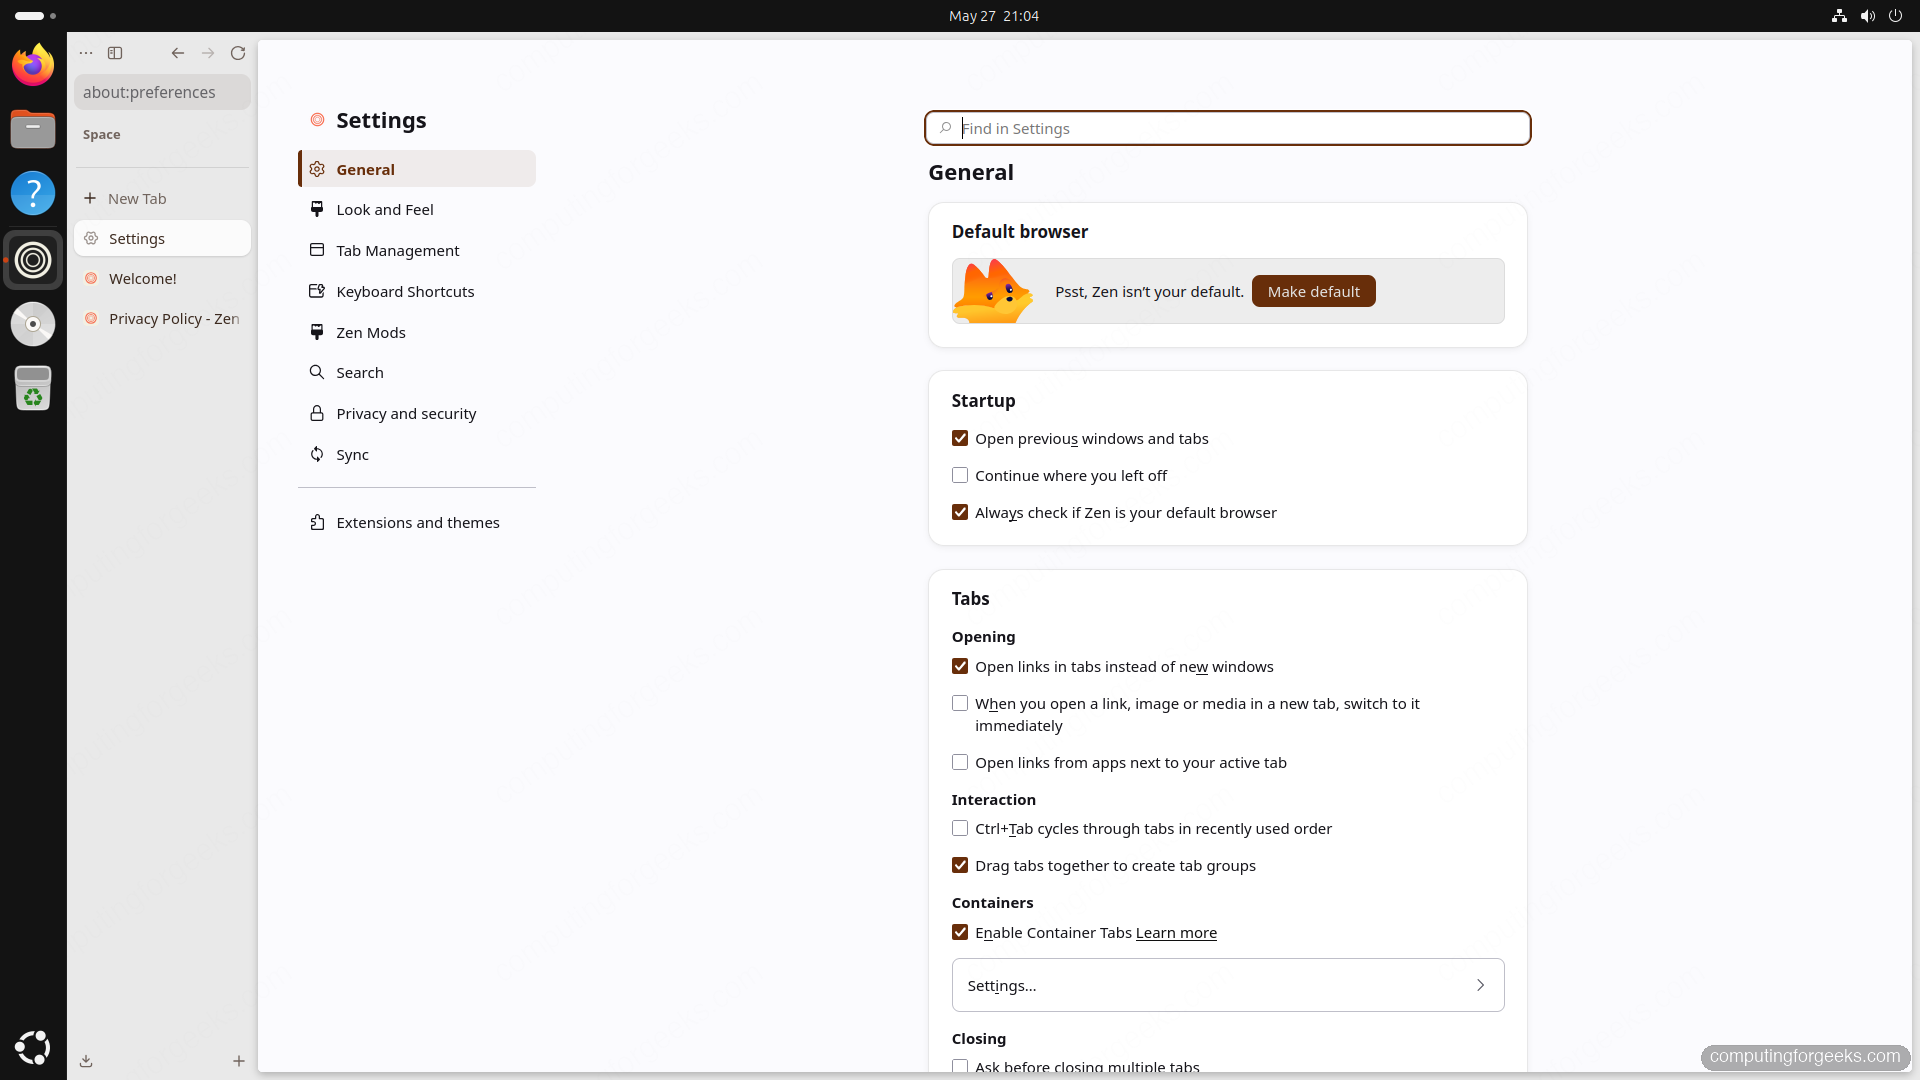
The Settings sidebar shows the full menu: General, Look and Feel, Tab Management, Keyboard Shortcuts, Zen Mods, Search, Privacy and security, Sync, and Extensions and themes. The last two are stock Firefox panels and behave identically.
Update the tarball install
Zen checks for updates on launch and prompts you to install them. To force an update or reinstall on top of an existing install, run the same script again. It detects the existing install at ${ZEN_HOME}, removes the old binaries, and drops the new tarball in place. Your profile under ~/.zen/ stays intact:
curl -fsSL https://github.com/zen-browser/updates-server/raw/refs/heads/main/install.sh | bash
"${ZEN_HOME}/zen" --version
The Flatpak version updates automatically through the standard Flatpak update channel. To check manually:
flatpak update --user app.zen_browser.zenFor the AppImage, replace the binary in ~/Apps/zen.AppImage with the latest from the releases page. Older AppImages support --self-update via zsync if you have zsync installed, but downloading a fresh AppImage is just as fast.
Uninstall
The tarball install lives entirely under the user’s home directory. Removing it is three files and two folders:
rm -rf "${ZEN_HOME}"
rm -f "${ZEN_BIN}" "${ZEN_DESKTOP}"
# Profile and cache (optional, deletes bookmarks and history)
rm -rf "${HOME}/.config/zen" "${HOME}/.cache/zen"
The Flatpak uninstall removes the app and, if you pass --delete-data, the profile inside the sandbox too:
flatpak uninstall --user --delete-data app.zen_browser.zenAppImage cleanup is a single rm on the binary plus removing ~/.var/app/zen-x86_64 or wherever AppImageLauncher placed the integration.
Troubleshooting common issues
The tarball download fails or hangs
The installer pulls from GitHub releases. If GitHub is rate-limiting your IP or blocked at your network edge, fetch the tarball directly and run the script offline:
wget https://github.com/zen-browser/desktop/releases/latest/download/zen.linux-x86_64.tar.xz
mkdir -p "${ZEN_HOME%/*}"
tar -xJf zen.linux-x86_64.tar.xz -C "${ZEN_HOME%/*}"
mv "${ZEN_HOME%/*}/zen" "${ZEN_HOME}"
Then symlink the launcher and copy the desktop entry from the install script (the relevant block is in the script source).
Zen icon does not appear in the Activities overview
GNOME caches desktop entries. Refresh the cache and the icon shows up after one re-login:
update-desktop-database "${HOME}/.local/share/applications"The next failure mode is rarer but louder when it does happen.
“Could not load XPCOM” on launch
This means the binary is missing a system library, usually because the system is older than Zen’s build base. On a fully patched Ubuntu 26.04 or 24.04 you should not see it. If you do, run the launcher under ldd to find the missing library:
ldd "${ZEN_HOME}/zen" | grep "not found"Install the matching package via apt, then relaunch.
Where to go from here
Zen pairs well with the rest of a Firefox-based workflow: container tabs for separating identities, Multi-Account Containers for keeping work and personal accounts distinct, and the Sync service for moving bookmarks and saved passwords between machines. If you are coming from Chrome, the import flow on first launch handles bookmarks, history, and saved logins cleanly.
If you would rather keep Zen on the side as a “focus browser” and stay on a different daily driver, look at the Firefox install guide and the Brave install guide for the other free, fast options on Ubuntu. Running multiple browsers side by side is a perfectly reasonable setup once you nail down which one fits which task.